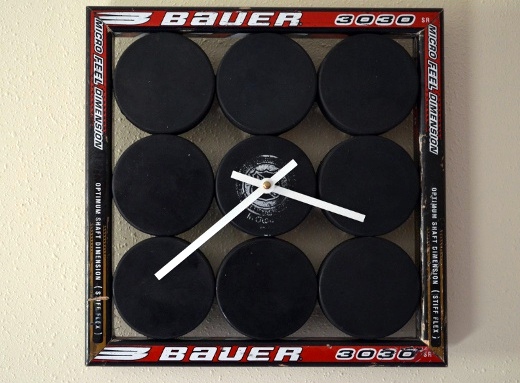
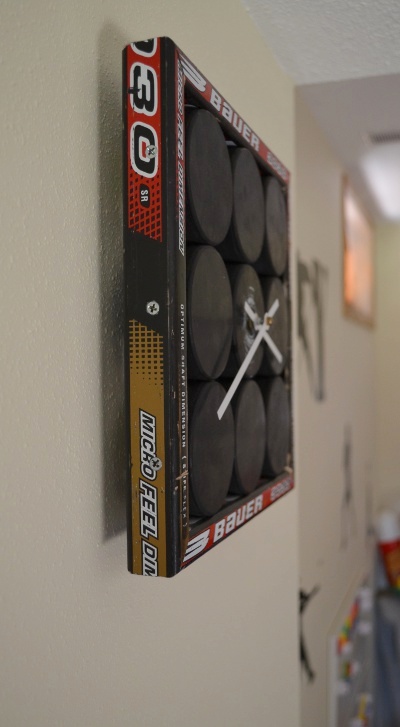
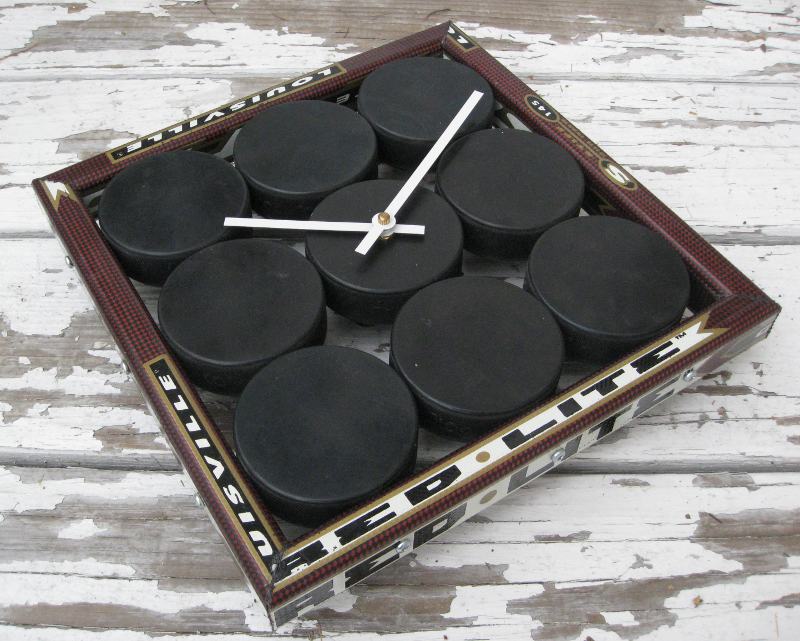
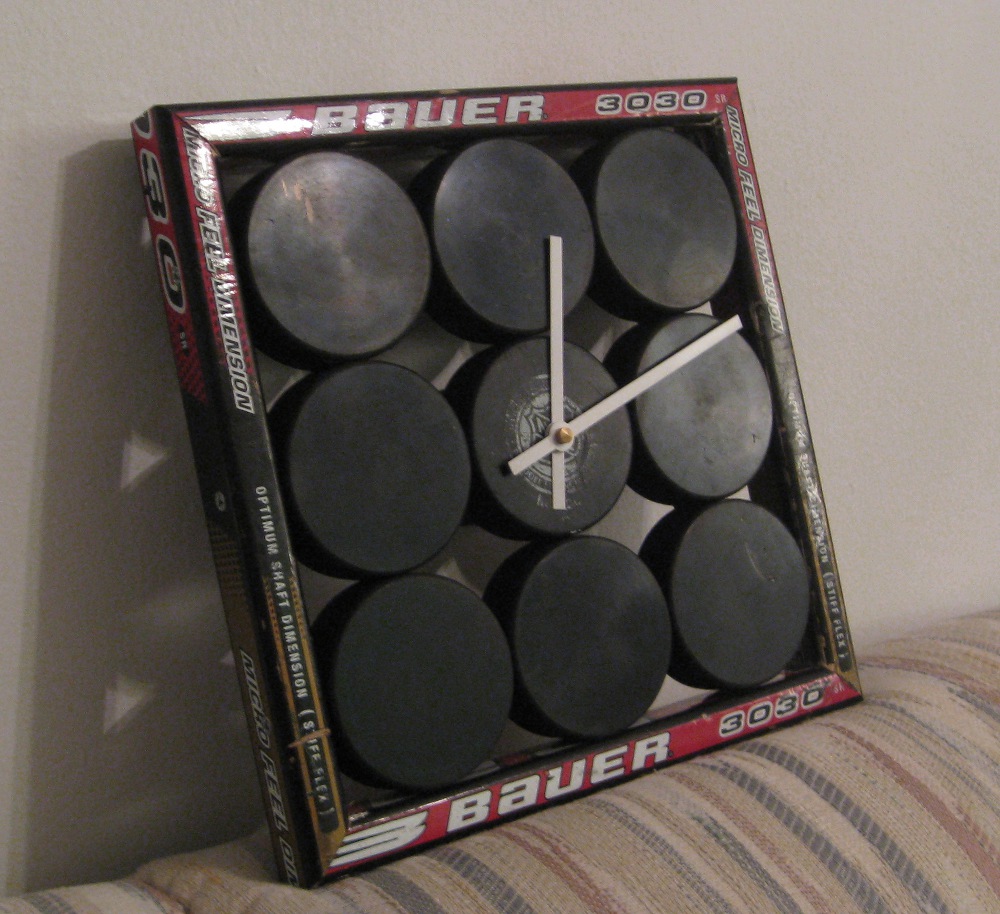
Hockey Puck Wall Clock
A wall-mounted clock made from hockey pucks with stick frame. Features a three-puck design with routed center for the clock movement.
Before you start: Read the Building Guide for essential safety and technique information.
This clock breaks down a little differently than one might expect. The particular order of some steps isn’t as important as making sure you put the back supports on the pucks after you’ve fixed the pucks and frame permanently together. Routing out the center puck is highly encouraged.
Design Breakdown
- Center Puck — routed for clock movement
- Frame & Remaining Pucks — 3×3 arrangement with stick frame
- Back Supports — wall clearance and hanging hardware
- Assembly — final mounting and hands
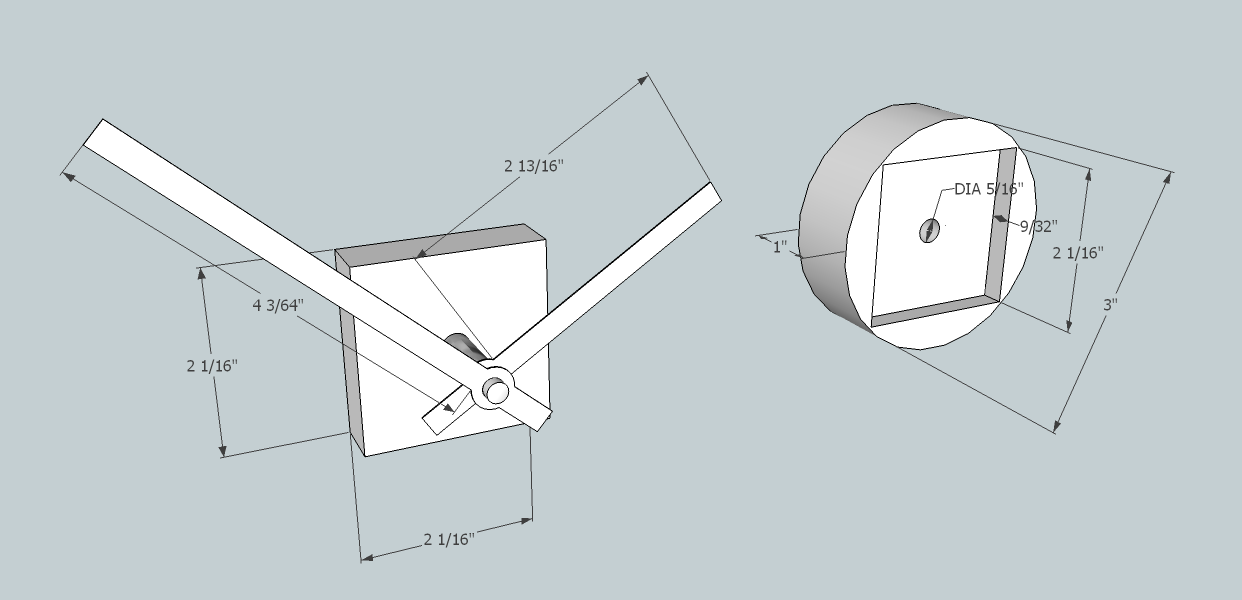
Center Puck
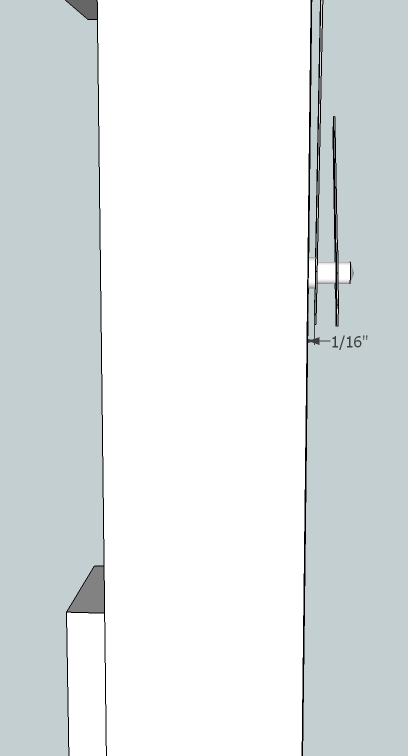
Get the clock movement with the thickest dial you can. Route out 9/32″ of the back to fit the puck — this gives 3/16″ hand clearance from the face. If you don’t route, you’ll only get about 1/16″ clearance, and slight bending of the hands or angling of the clock shaft can produce big headaches.
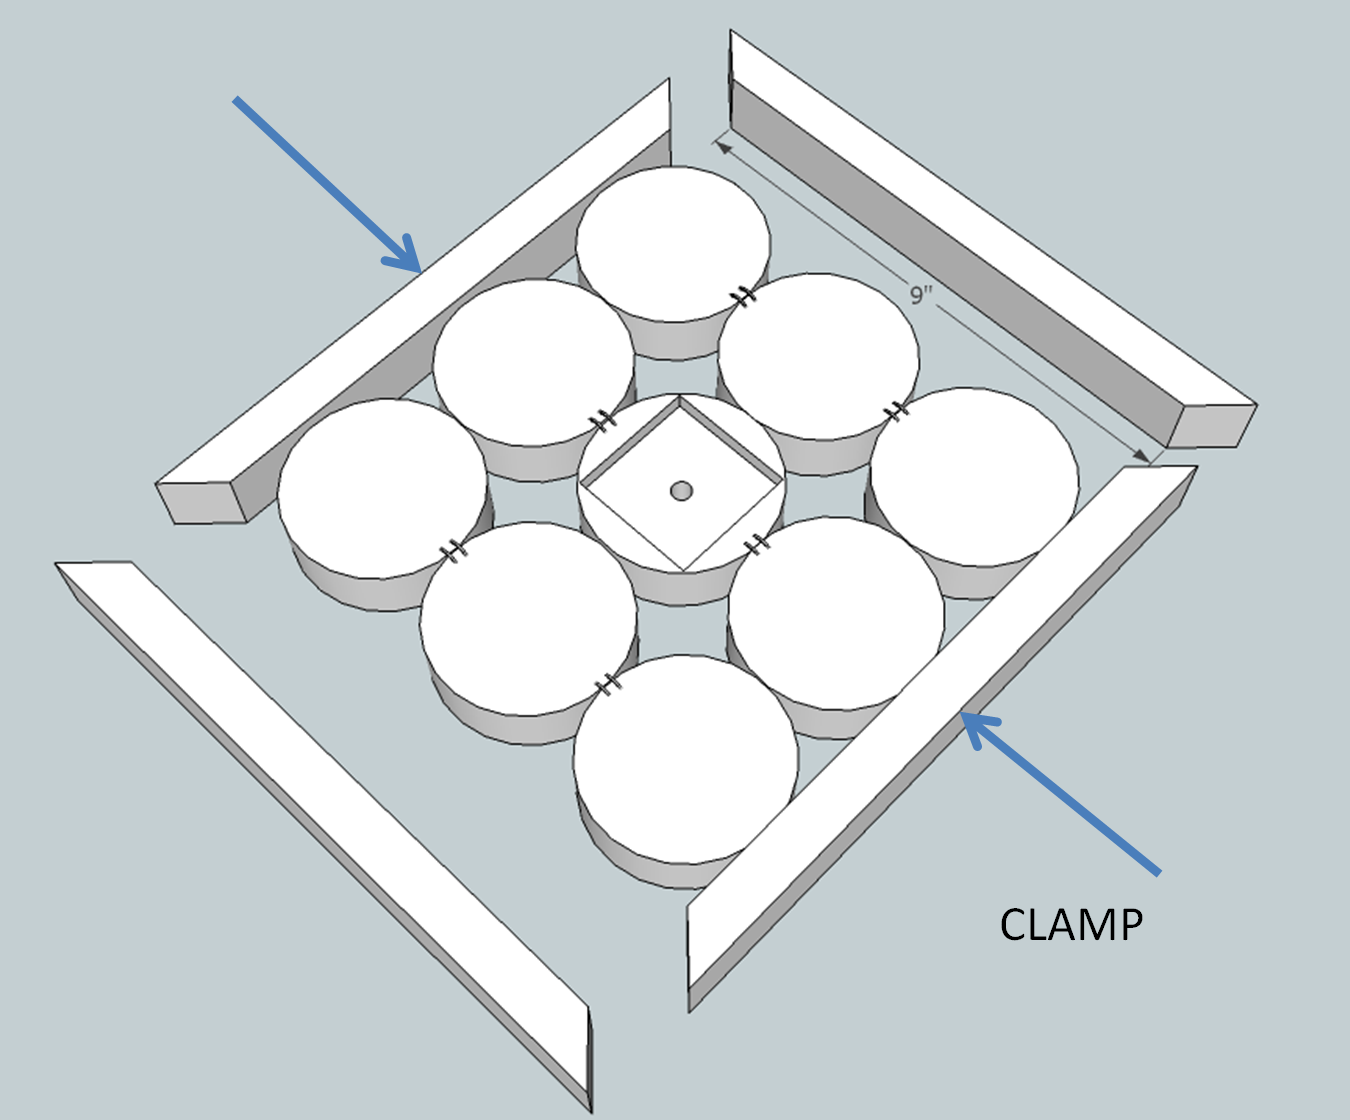
Frame & Remaining Pucks
Place 3 pucks in a 3×1 arrangement, starting without the center puck:
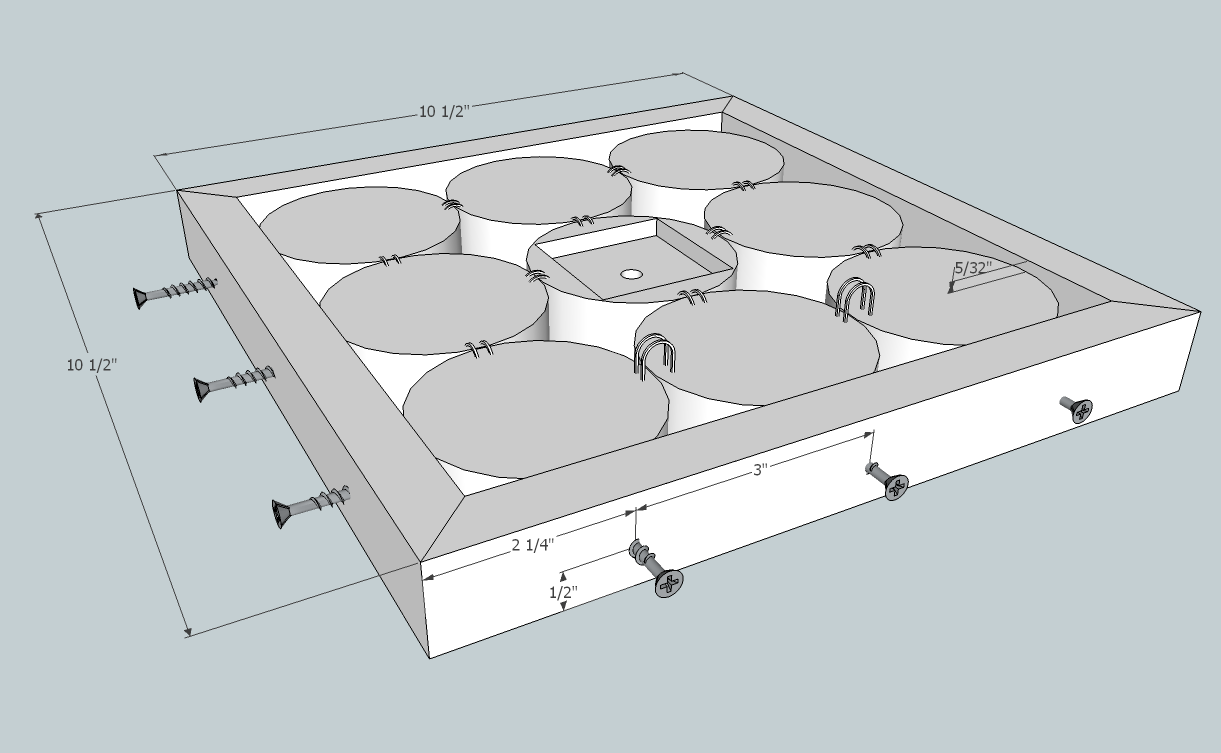
- Cut 4 frame pieces — about 9″ on the inside dimension (or 10.5″ on the outside if your stick widths are 0.75″). Oversize your cuts by about 1/16″ or 1/8″.
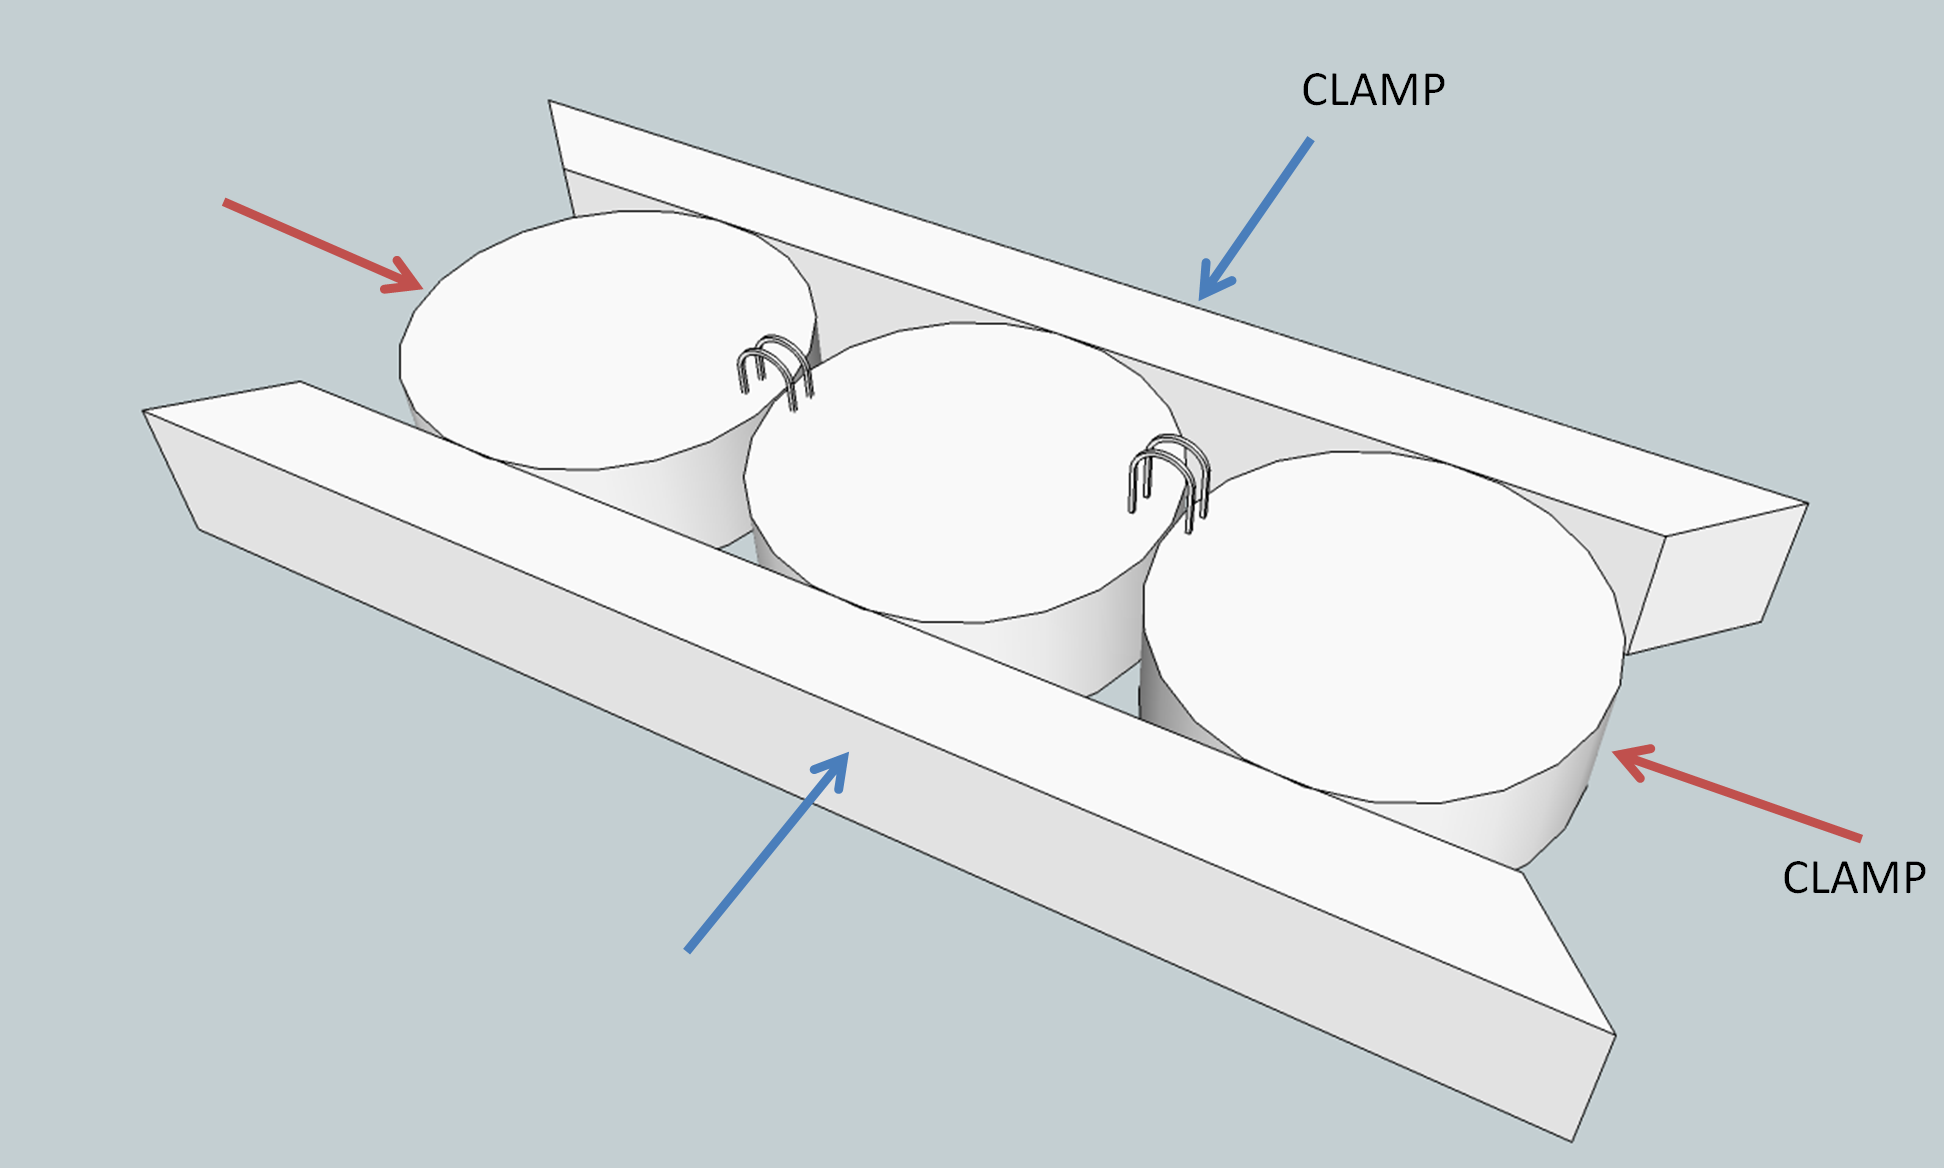
- Place two frame pieces around the 3×1 arrangement and clamp — this ensures they’re in a straight line
- Press them together in the perpendicular direction with another clamp, then hammer two double-sided staples into the pucks until flush
- Repeat for the second row, including the routed center clock puck in the middle
- Place frame pieces along both assemblies to align them — one puck from each assembly should touch each stick
- Measure the width of the 3-puck assemblies to check if it’s indeed 9″; trim with the mitre saw as needed
Final frame assembly: Clamp the entire assembly together face down — this ensures the entire face of the clock (pucks and sticks) will be flush. Don’t over-clamp or the pucks may buckle.
Screw the sticks into the frame using #4, 1.25″ screws at the center of each puck for a total of 12 screws. Smaller screws keep them from showing. Counter-sink nicely as they’ll be visible from the outside.
Finish by nailing in the complementary double-pointed staples so all pucks are connected to their neighbors.
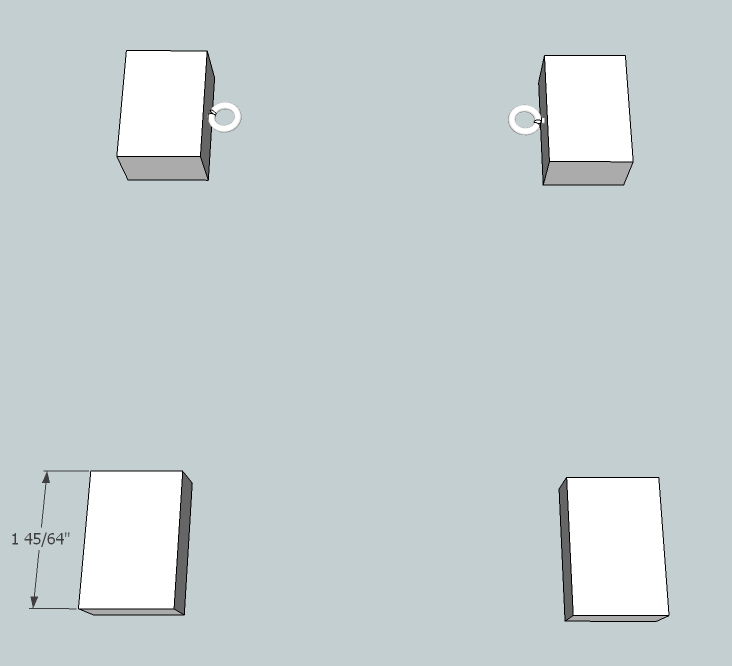
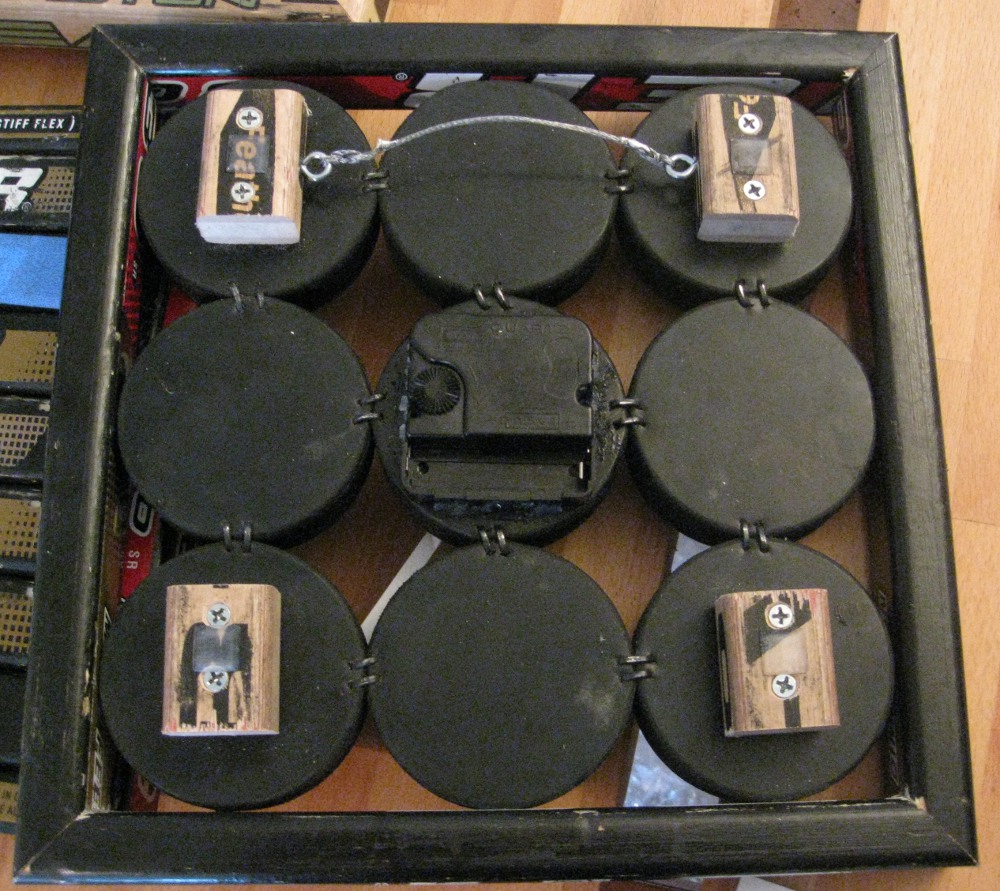
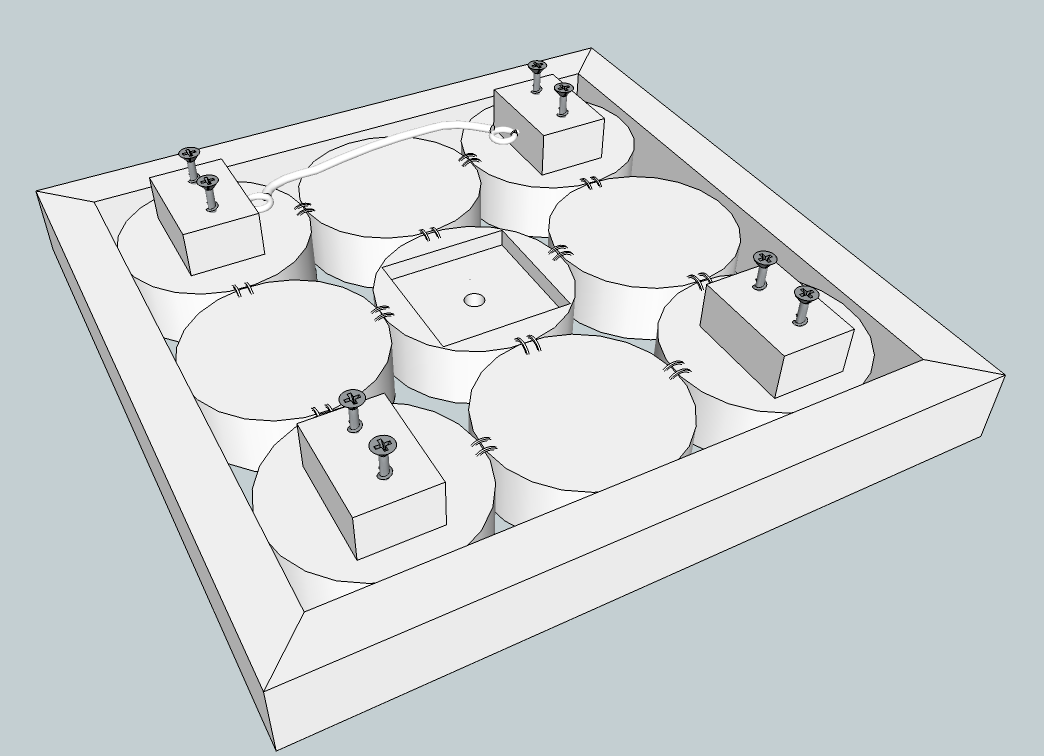
Back Supports
Four smaller stick pieces centered on each corner puck provide distance from the wall and hold the picture frame wire.
- Make sure each piece can support two screws to keep them from rotating
- Add the screw eyes at this stage — it’s much easier now than after installation
- Wire up the picture frame wire with some slack for hanging, but slightly taut
Assembly Tips
- Solder the picture frame wire together at the end to ensure it doesn’t fail (personal preference)
- Add small rubber feet to the back of the support pieces to prevent wall scratches
- Screw in the movement using the wrench
- Route the center puck! The hands will be very close to the puck face without it. Life is much easier with routing.
For a full 3D model, visit the Models page.
Gallery (13 photos)

Related Projects
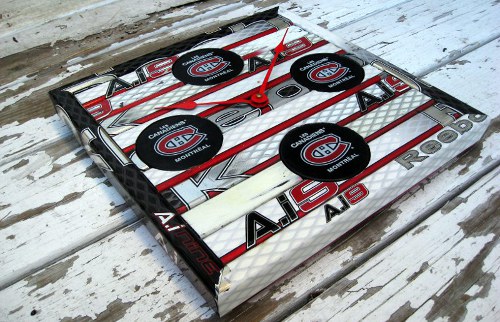
Hockey Puck & Stick Clock
A wall clock combining hockey sticks and pucks into a striking display piece. Available in team-themed variations.
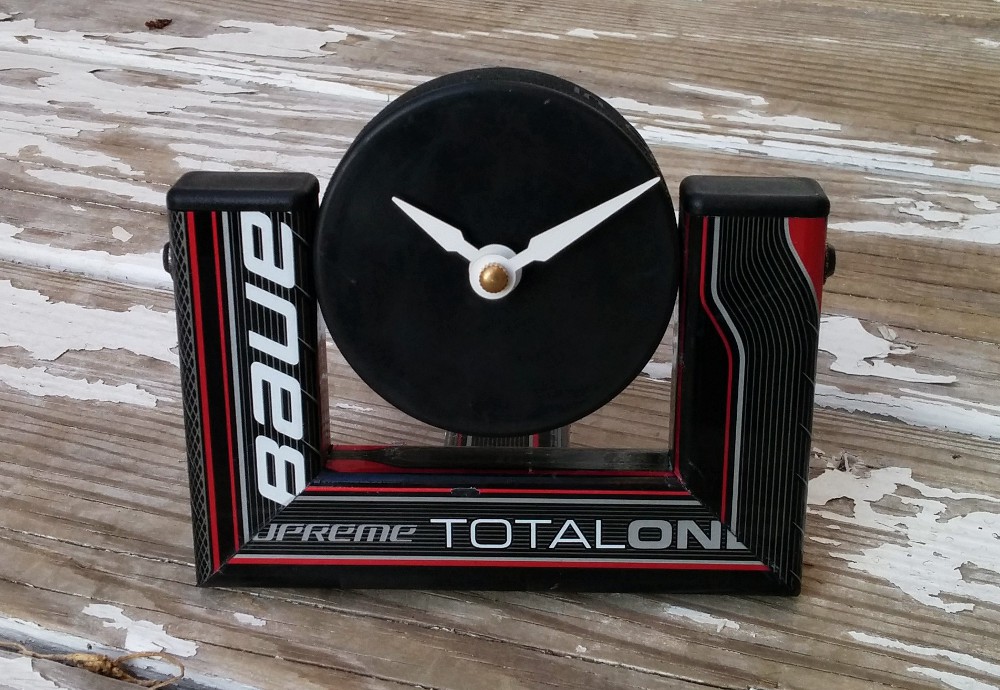
Hockey Stick Desk Clock
A compact desk clock using a single hockey stick and a hockey puck with clock movement. Great beginner project for clock-making.
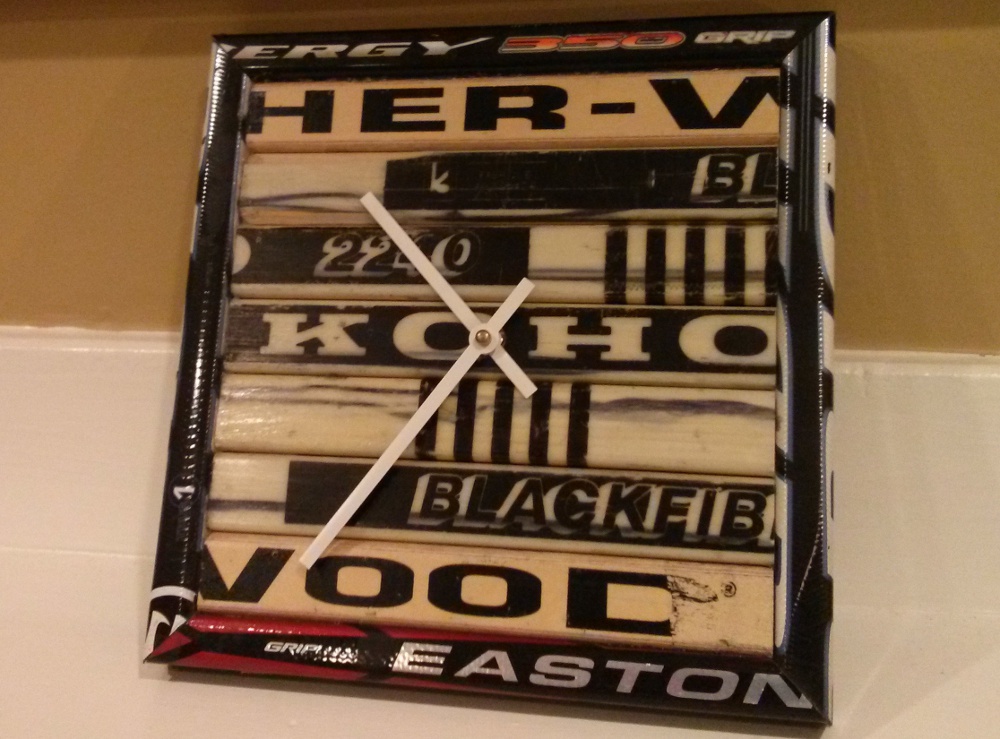
Stick Wall Clock
A classic wall clock built from hockey sticks with a framed face. Probably the easiest item to build — great for a first small project.