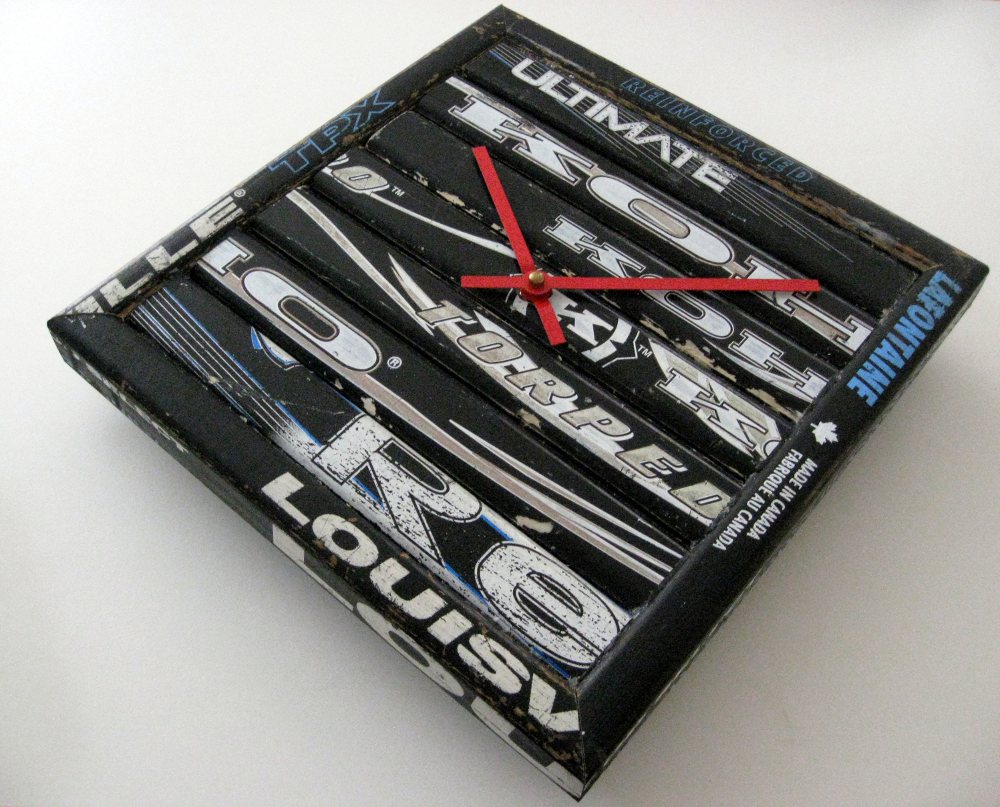
Stick Wall Clock
A classic wall clock built from hockey sticks with a framed face. Probably the easiest item to build — great for a first small project.
Before you start: Read the Building Guide for essential safety and technique information.
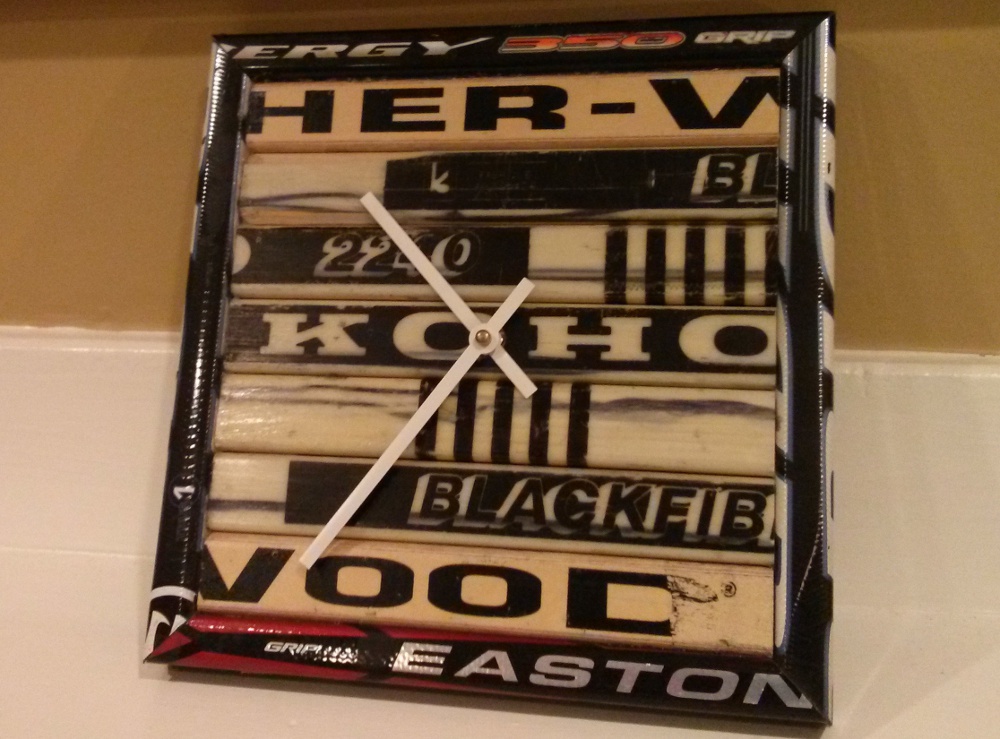
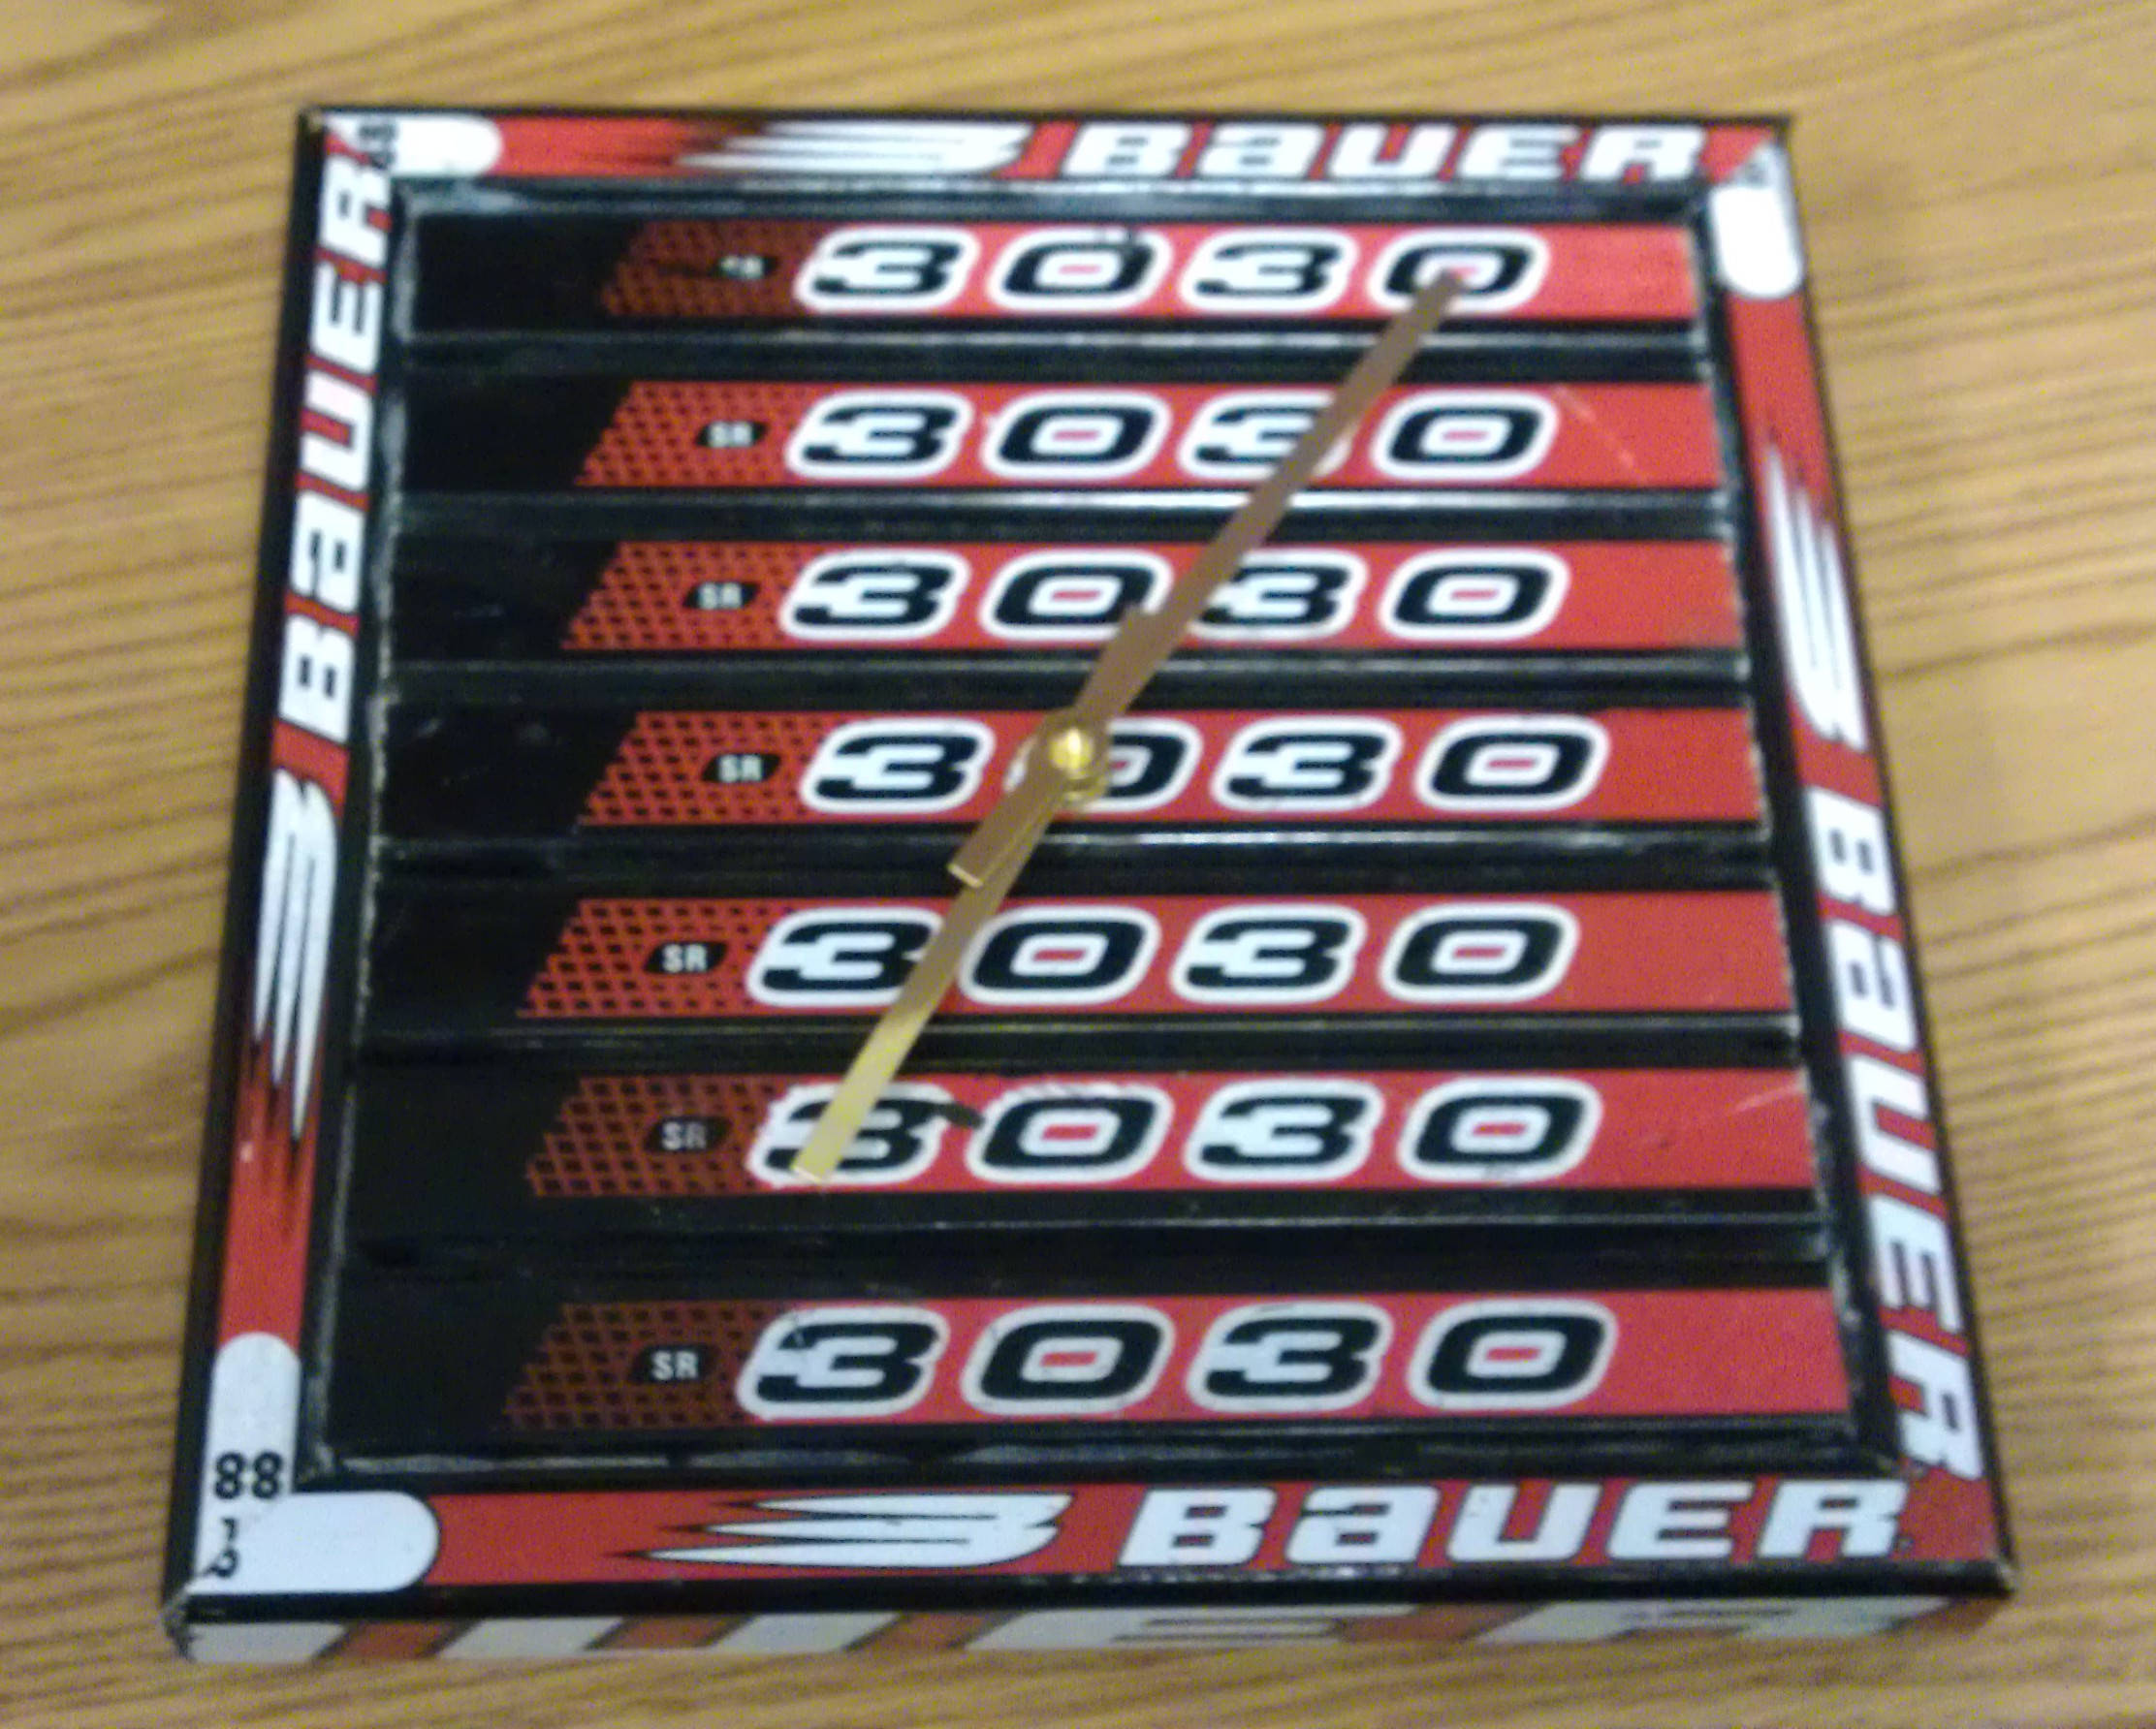
The standard time keeper.
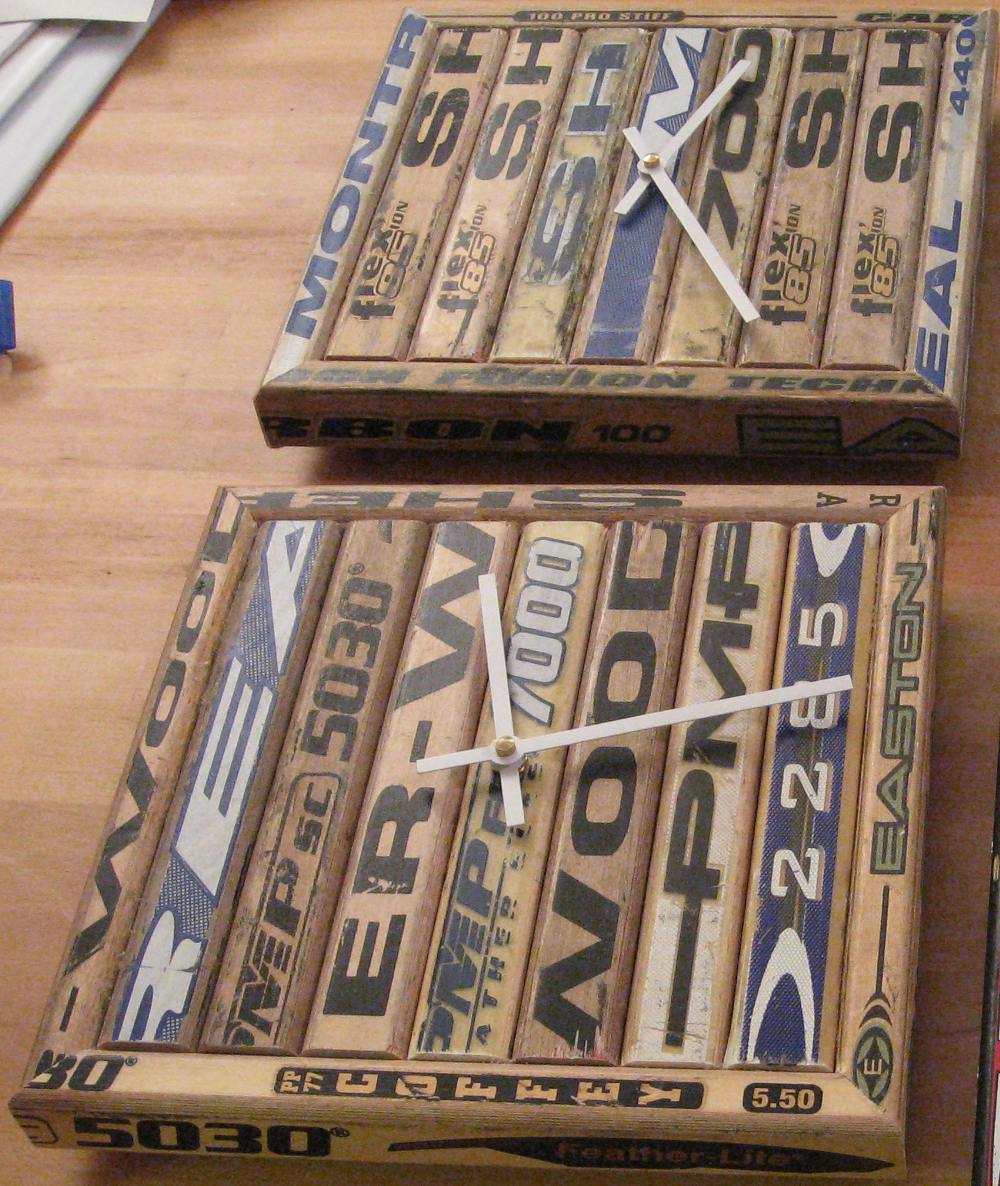
For a first small project, this hockey clock is probably the easiest item to build. It requires only a few sticks and no special considerations other than making sure it doesn’t fall off the wall. It’s fairly forgiving if you make a mistake and straightforward to build. It can be any size you want, but the good old 10” wall clock is fairly typical.
Design Approach
A very basic design approach:
- Clock Body
- Frame
- Final Assembly
You don’t necessarily need the circular saw for this one, but again, it makes the cleanest cut for making the face. Since you’re using a frame, it’s of slightly less importance.
Build
Clock Body
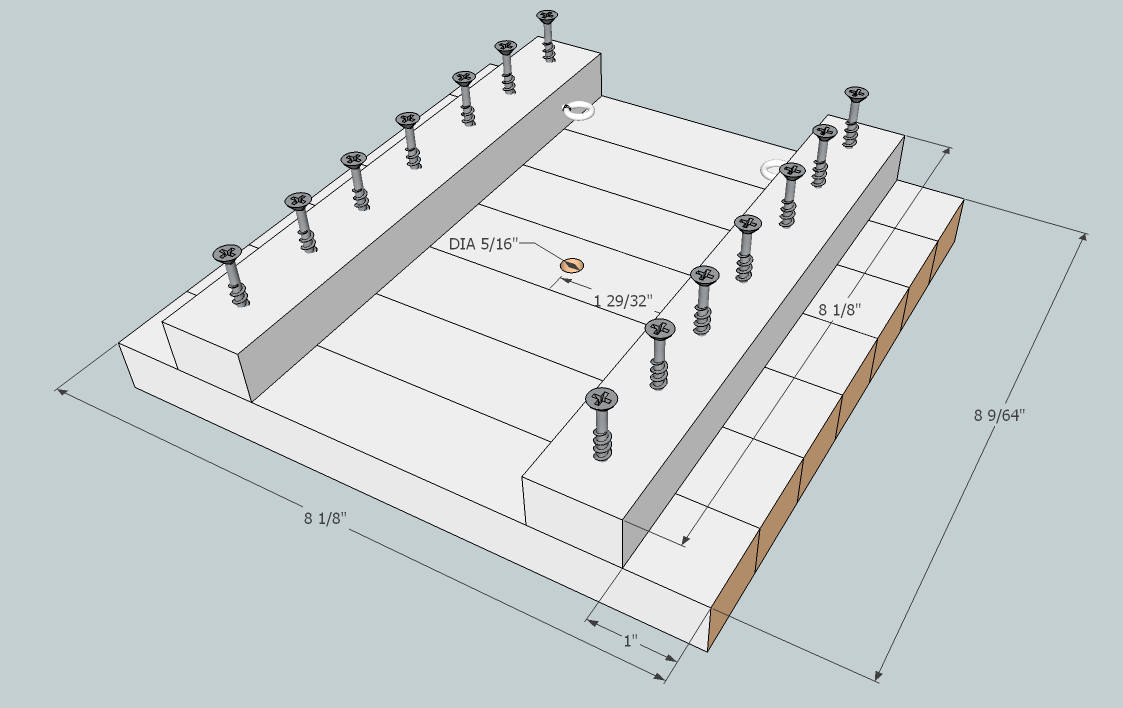
If you don’t want to use the circular saw, cutting 7 sticks on the mitre saw with a template works just fine here. Read the Building Guide for a picture.
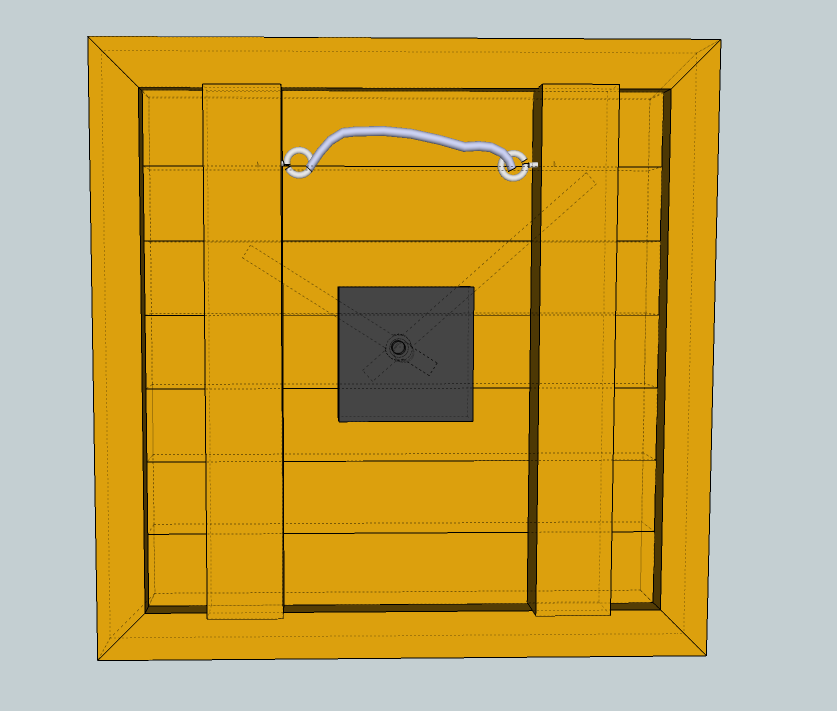
Next, cut the two attachment pieces that will be holding the frame together and insert the eyelets in now. It’ll be much easier than later.
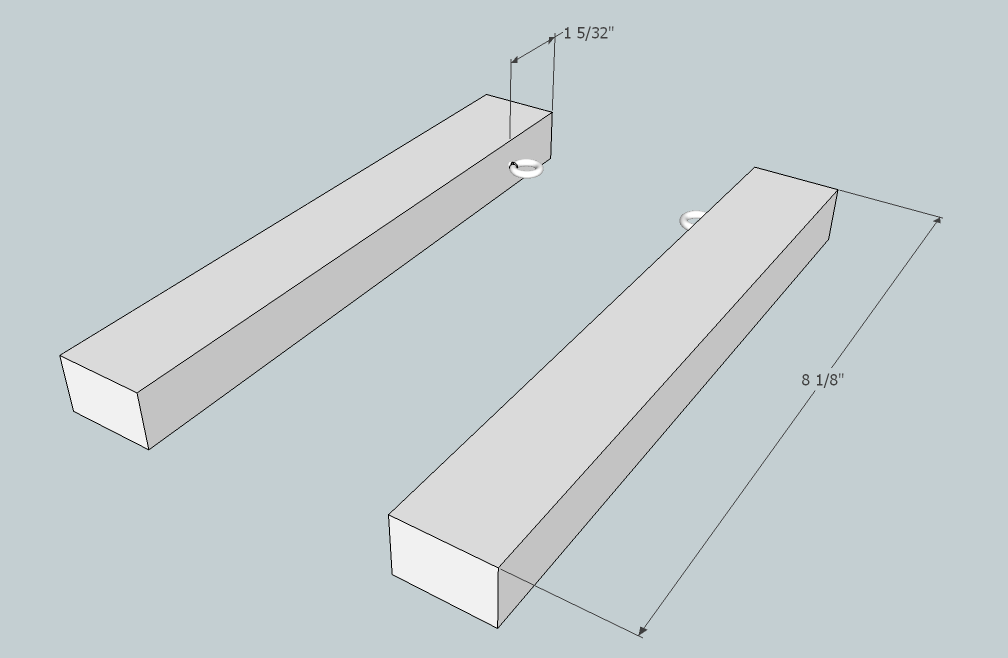
Once those are inserted, go ahead and attach the attachment pieces as shown below, drilling out the necessary hole for the time piece shaft.
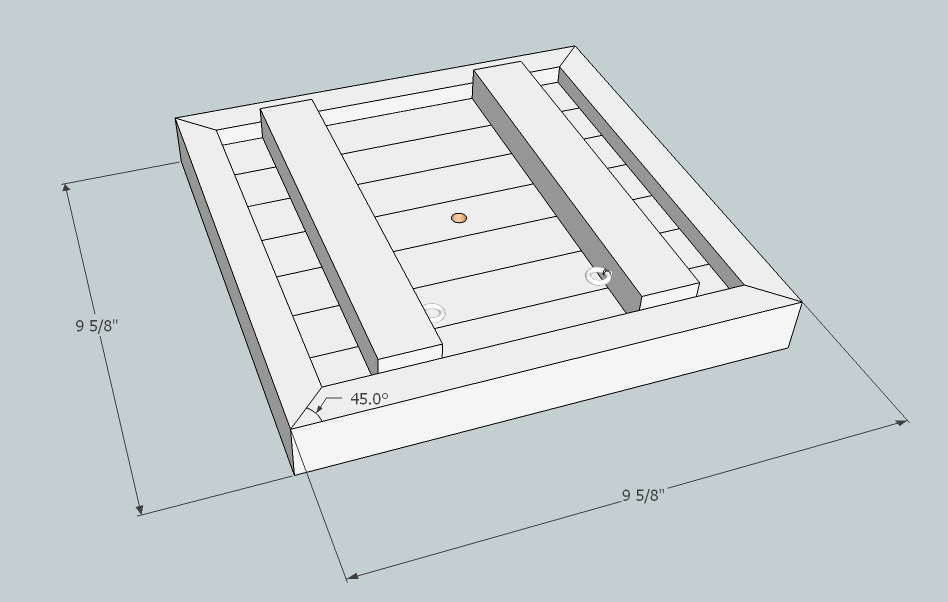
Frame
Next, cut the frame pieces. As I’ve said on other pages, it helps to oversize the frame cuts and “shave” down slowly as you fit things together. Attach them using bar clamps and Liquid Nails and/or finishing nails.
Final Assembly
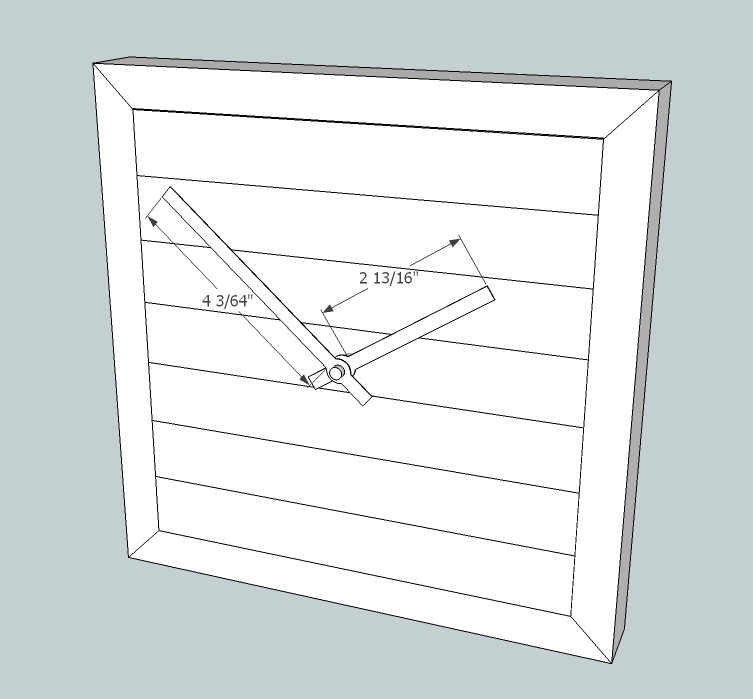
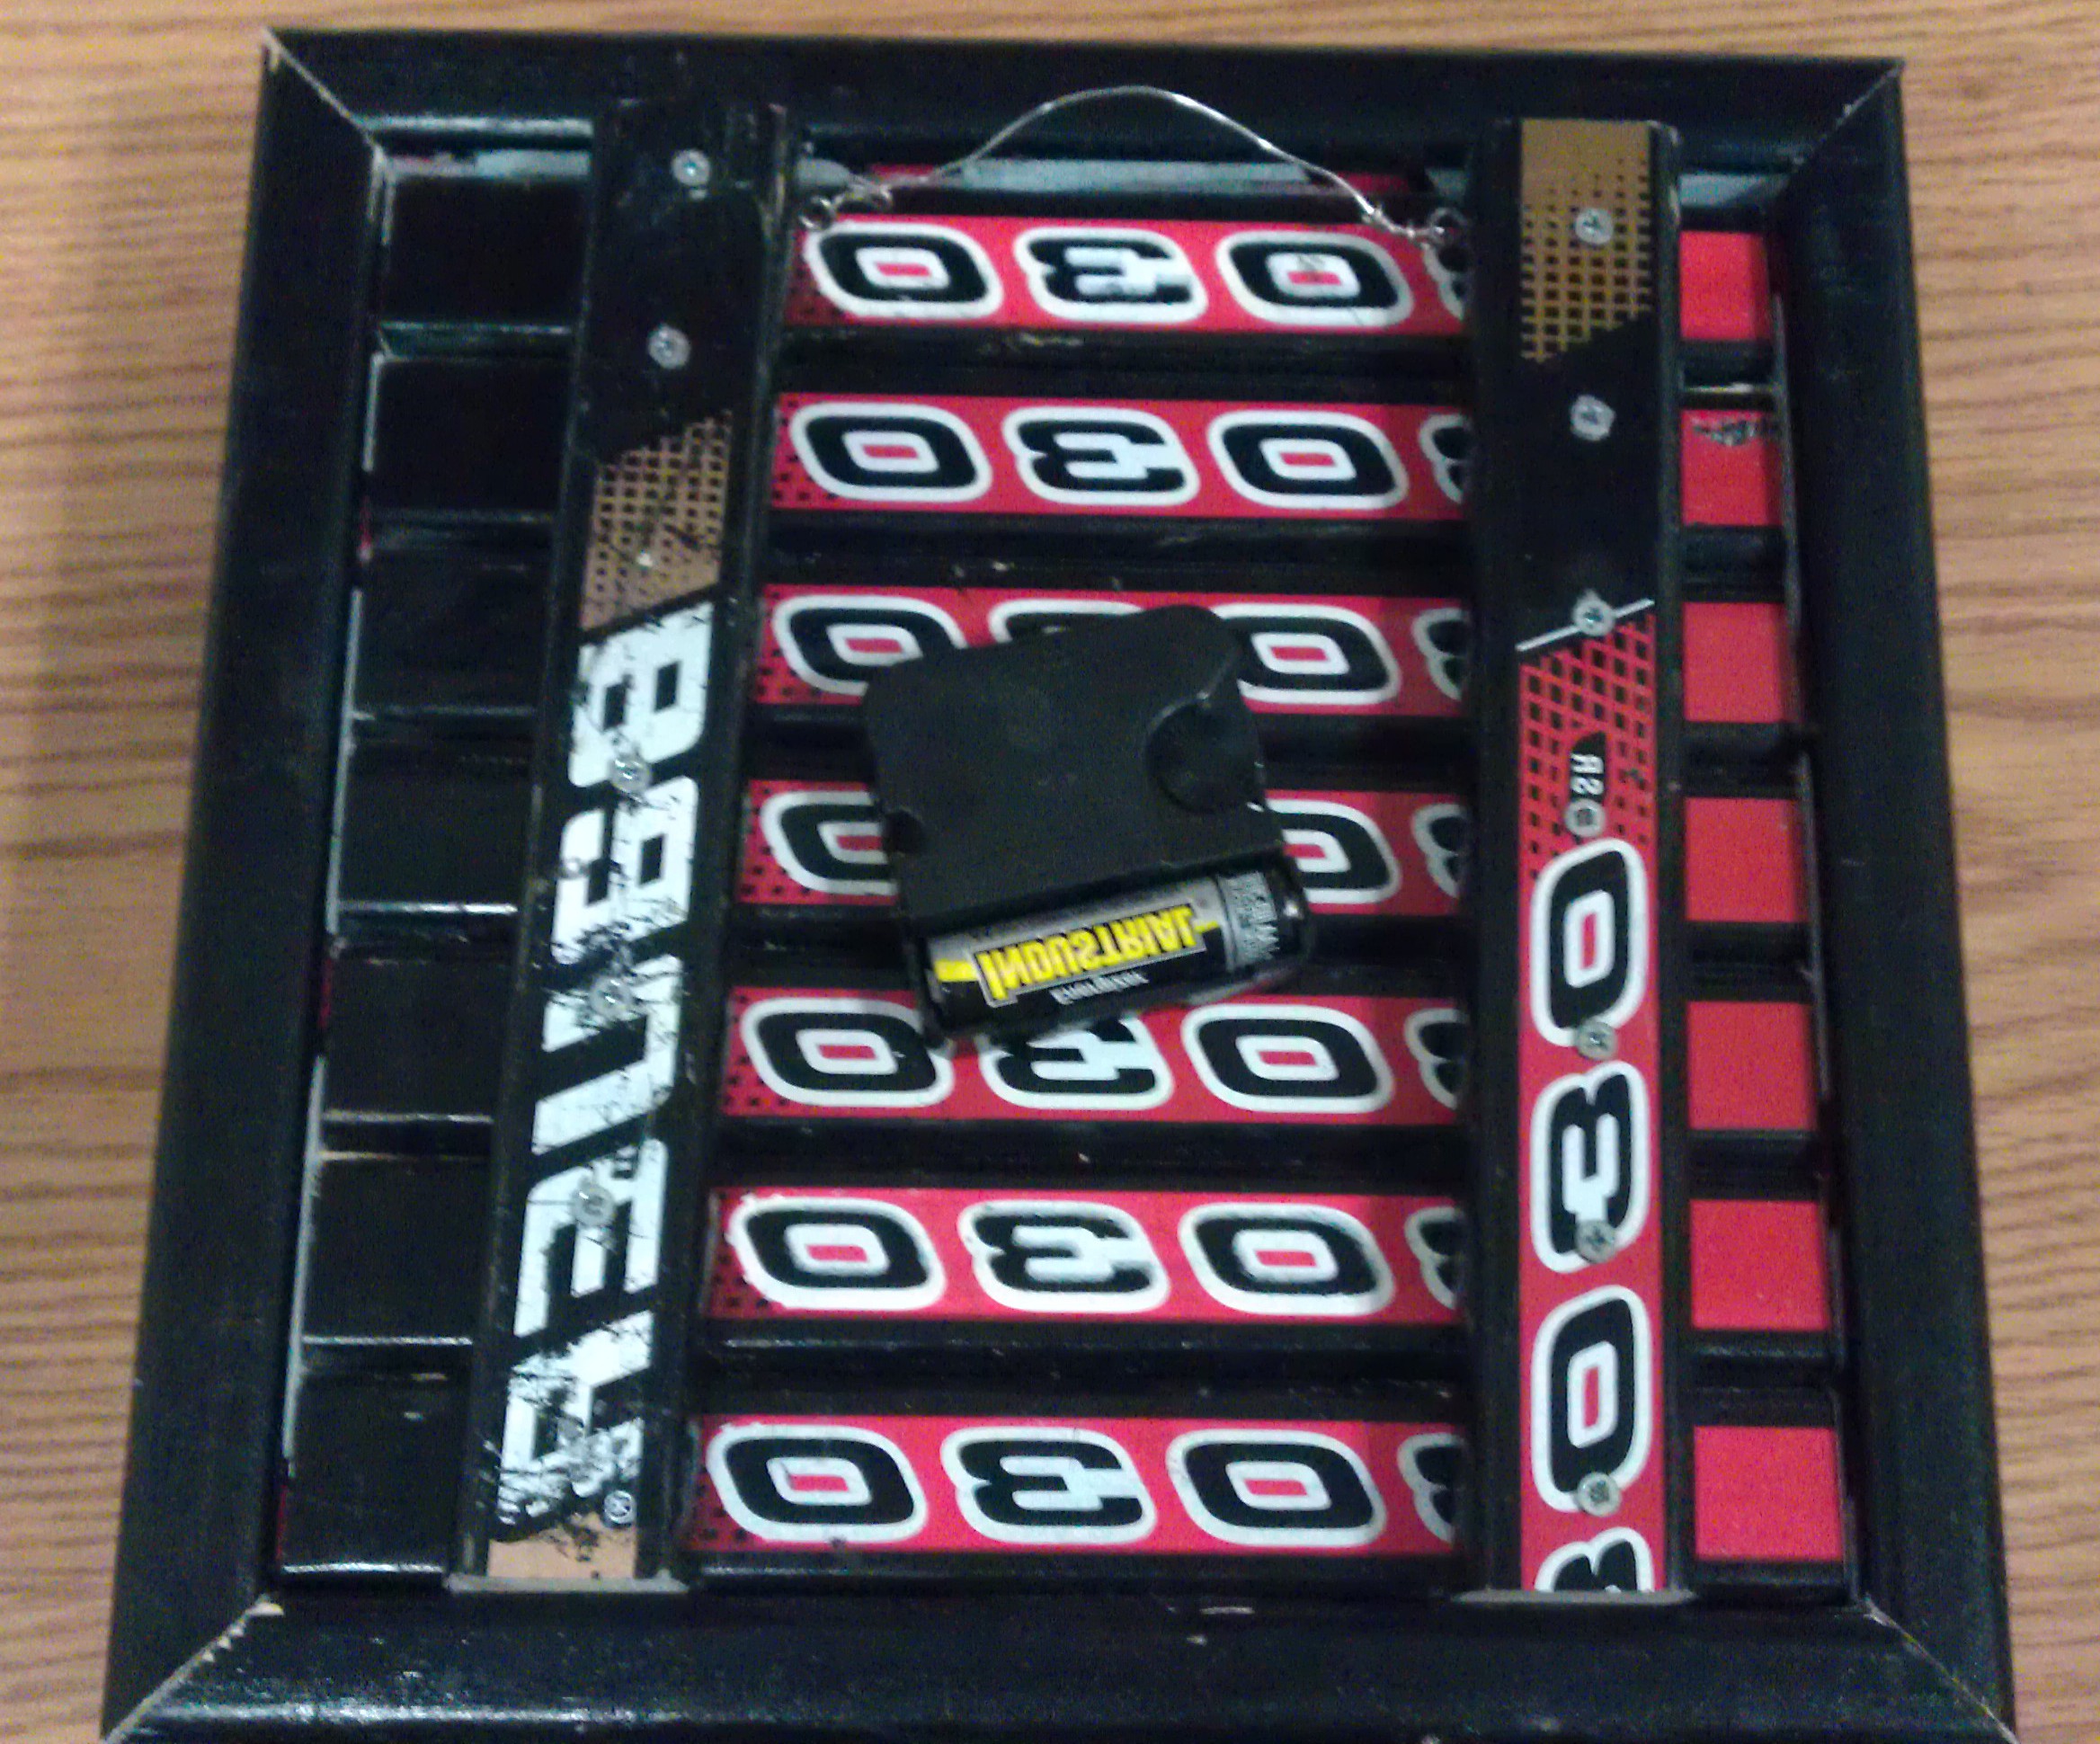
Once you’ve added the frame, secure the time piece into place. The movement as always is a MVT7130. Attach the movement using the wrench and follow the instructions in the Building Guide for hand lengths if you decide to do something a little different.
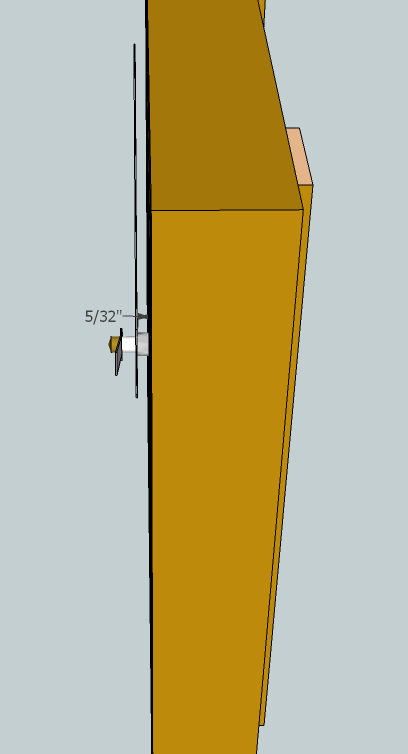
Below shows the hand lengths and the clearance of the hands above the clock face.
Now you can use the pliers to attach the picture frame wire through the eyelets on either side. The wire should have a little give in it so it hangs easier. I solder my hanging wire knots together to ensure they don’t move but it isn’t necessary.
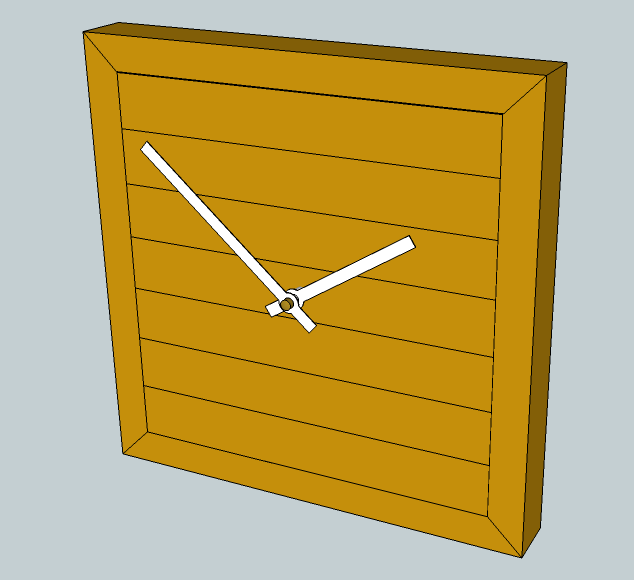
Model
For a full 3D model of the stick wall clock, visit the Models page.
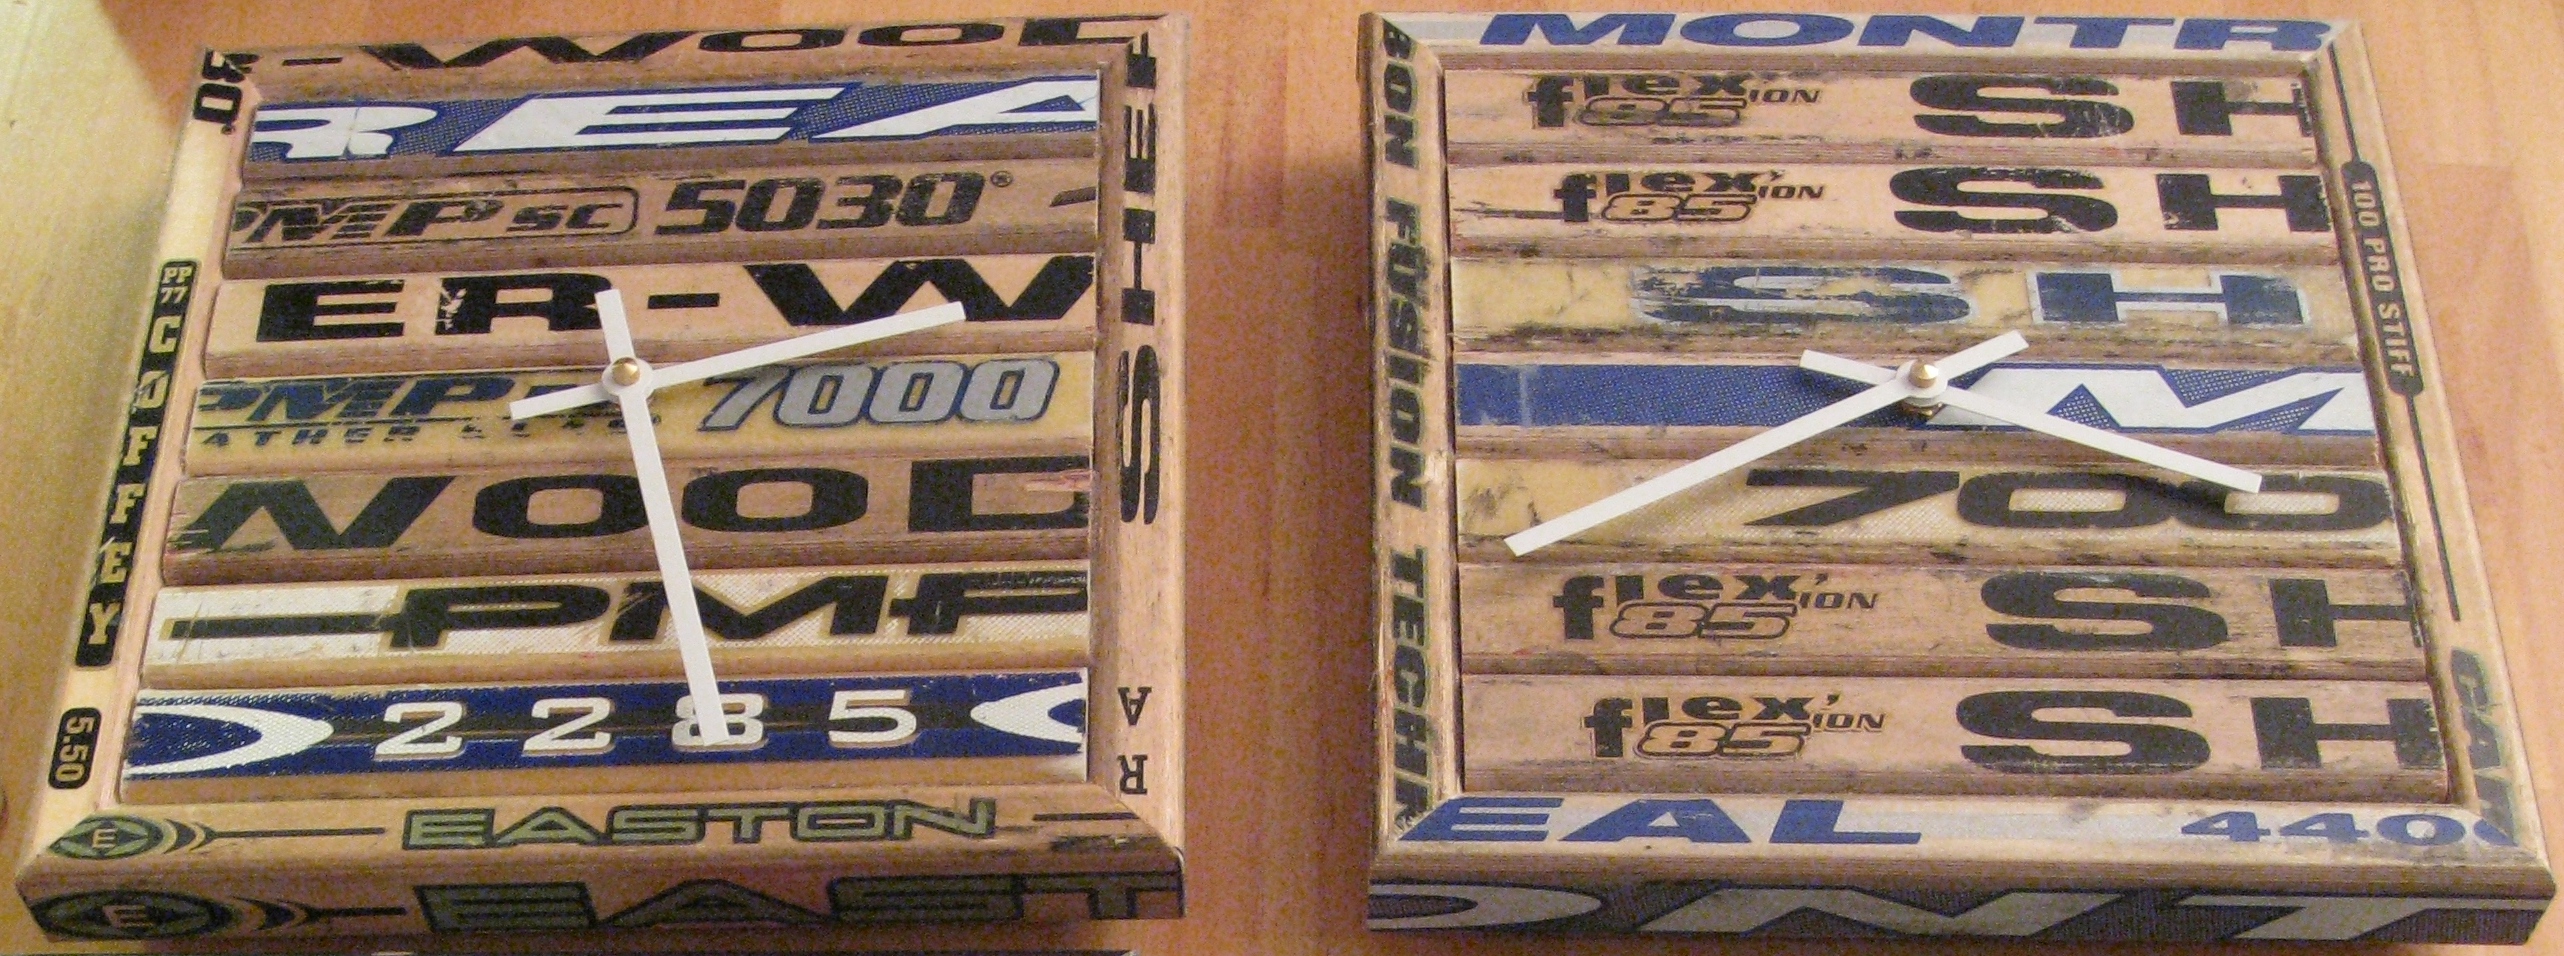
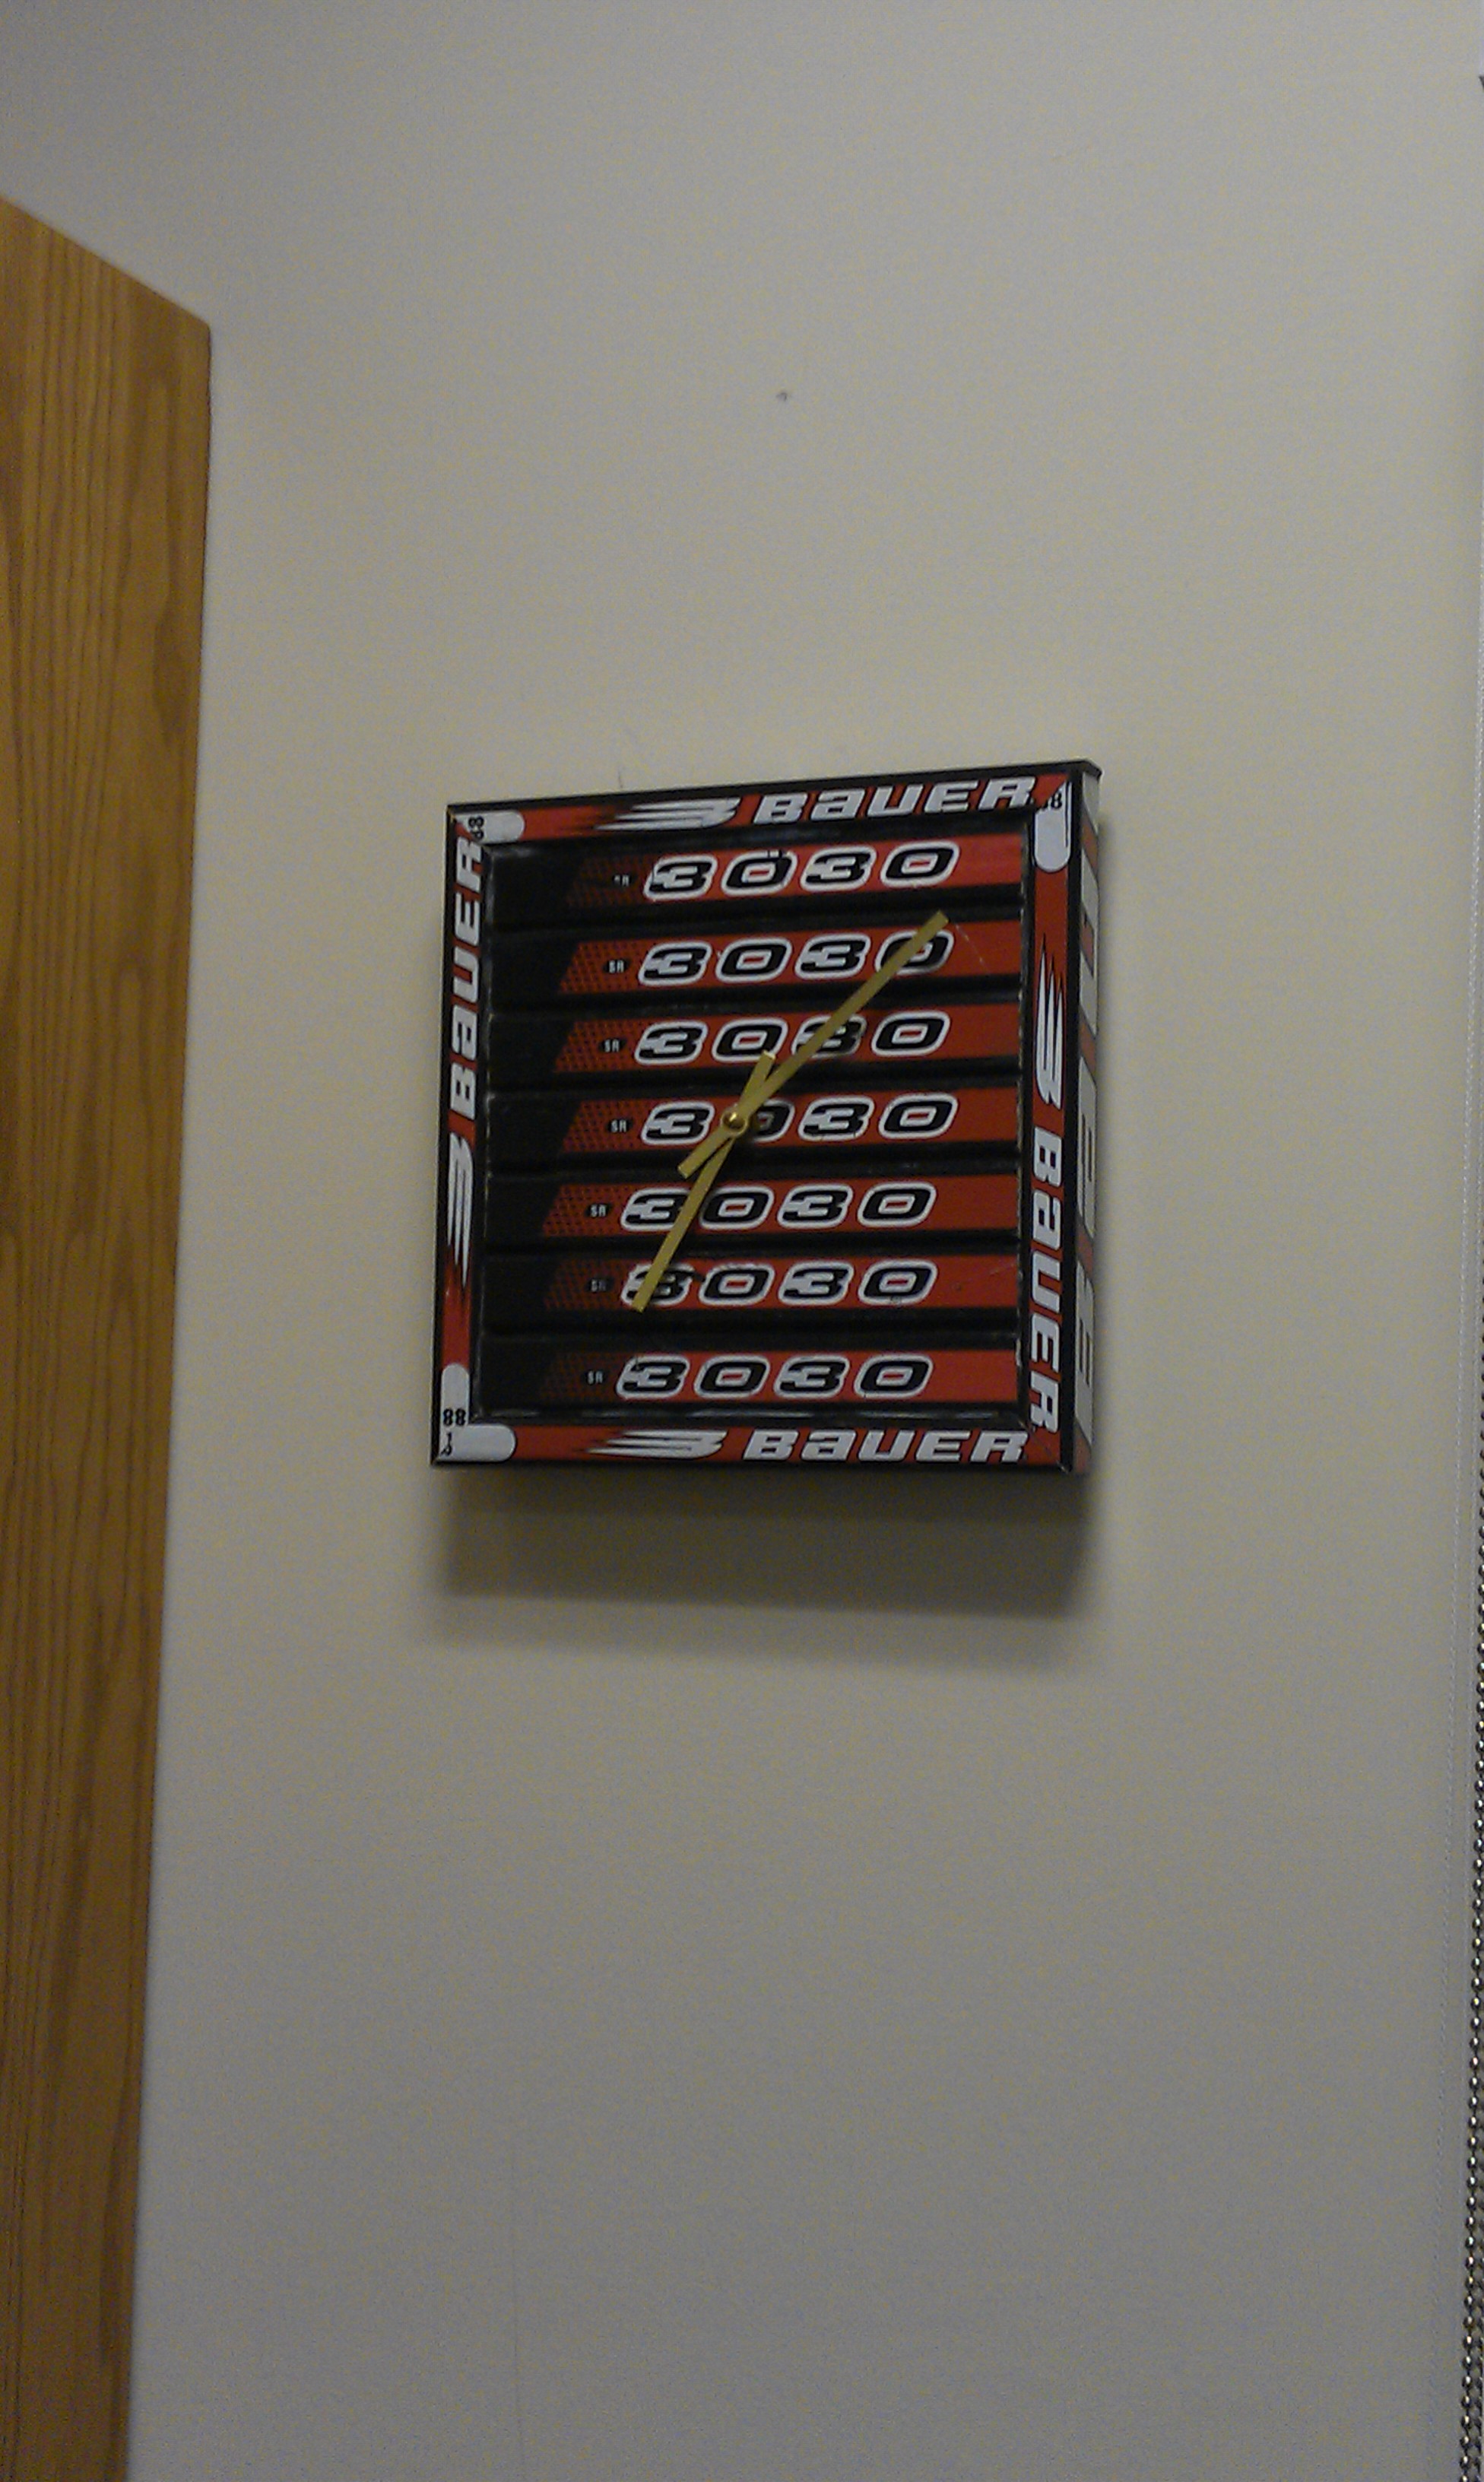
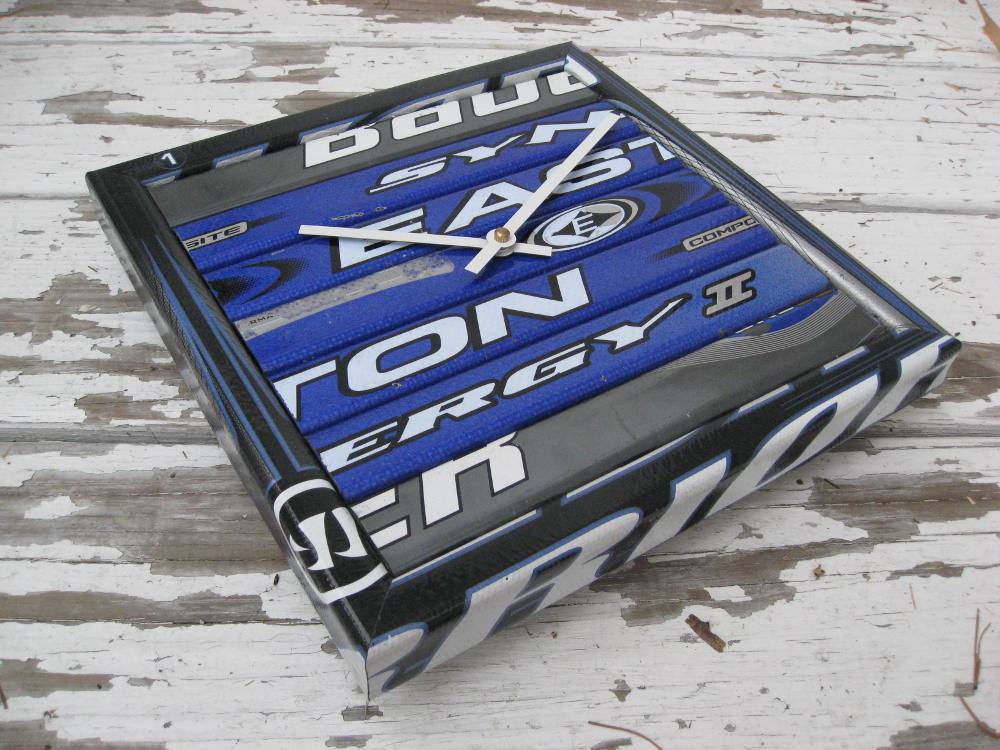
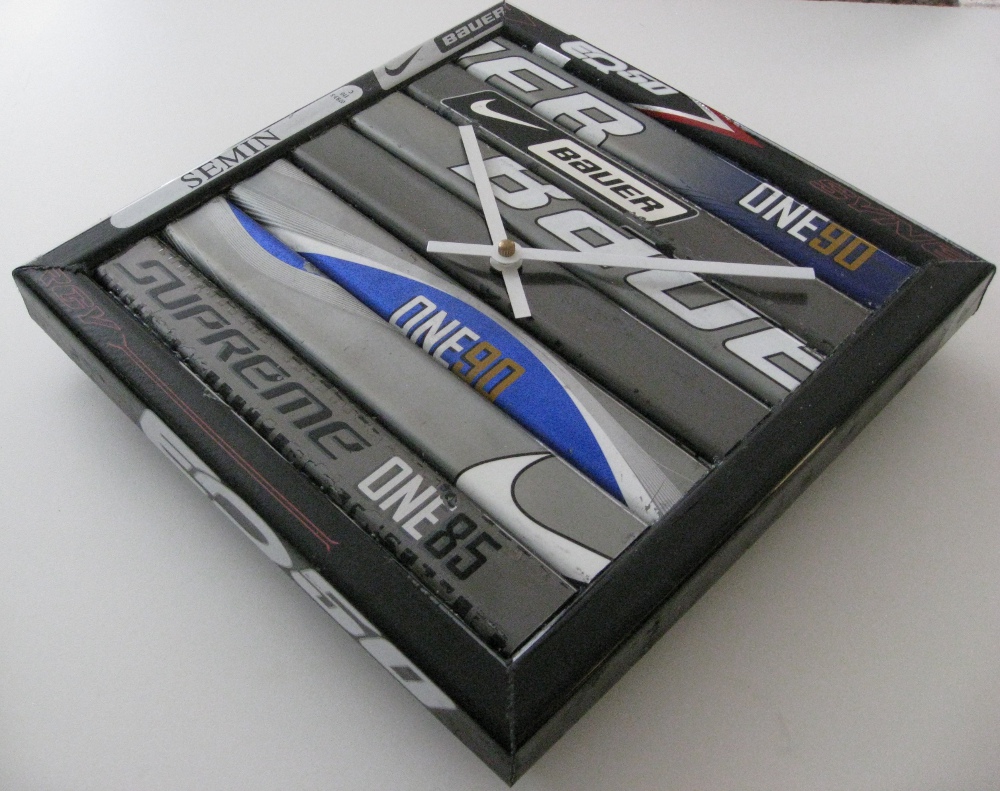
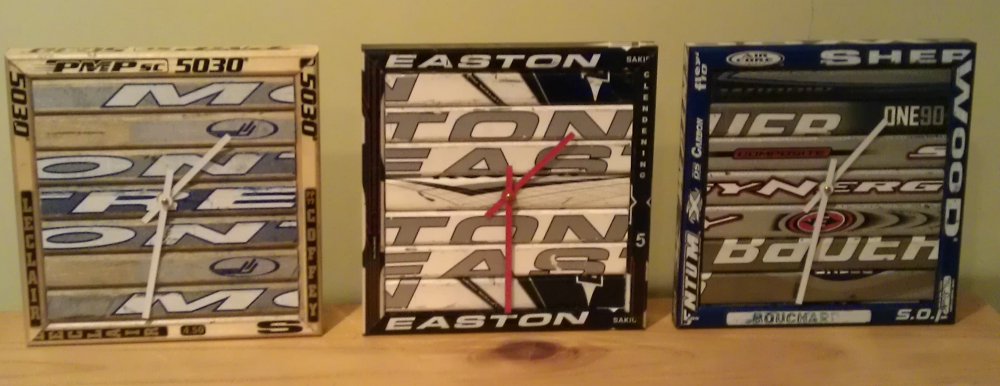
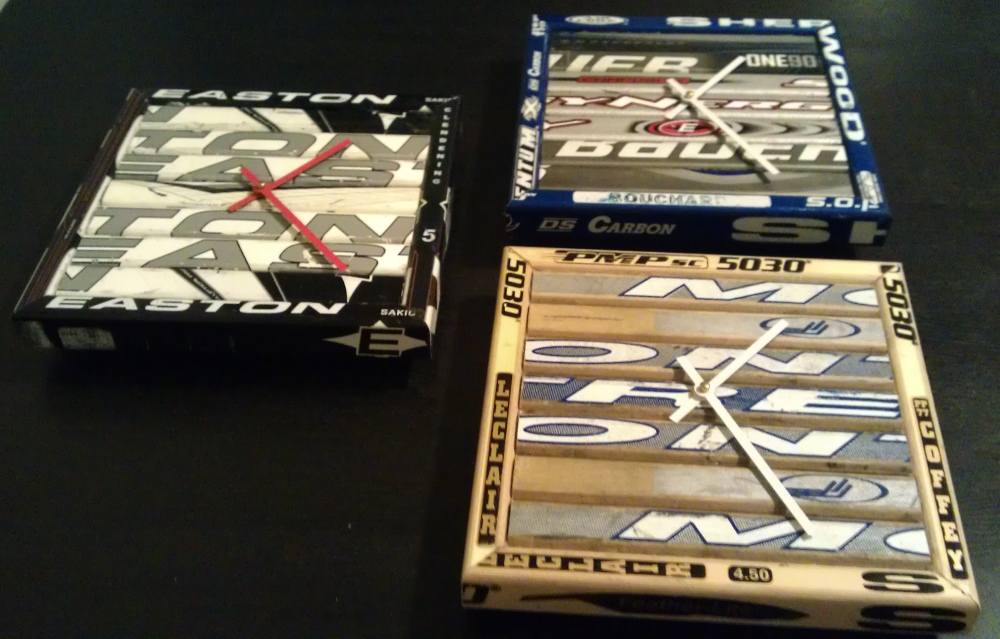
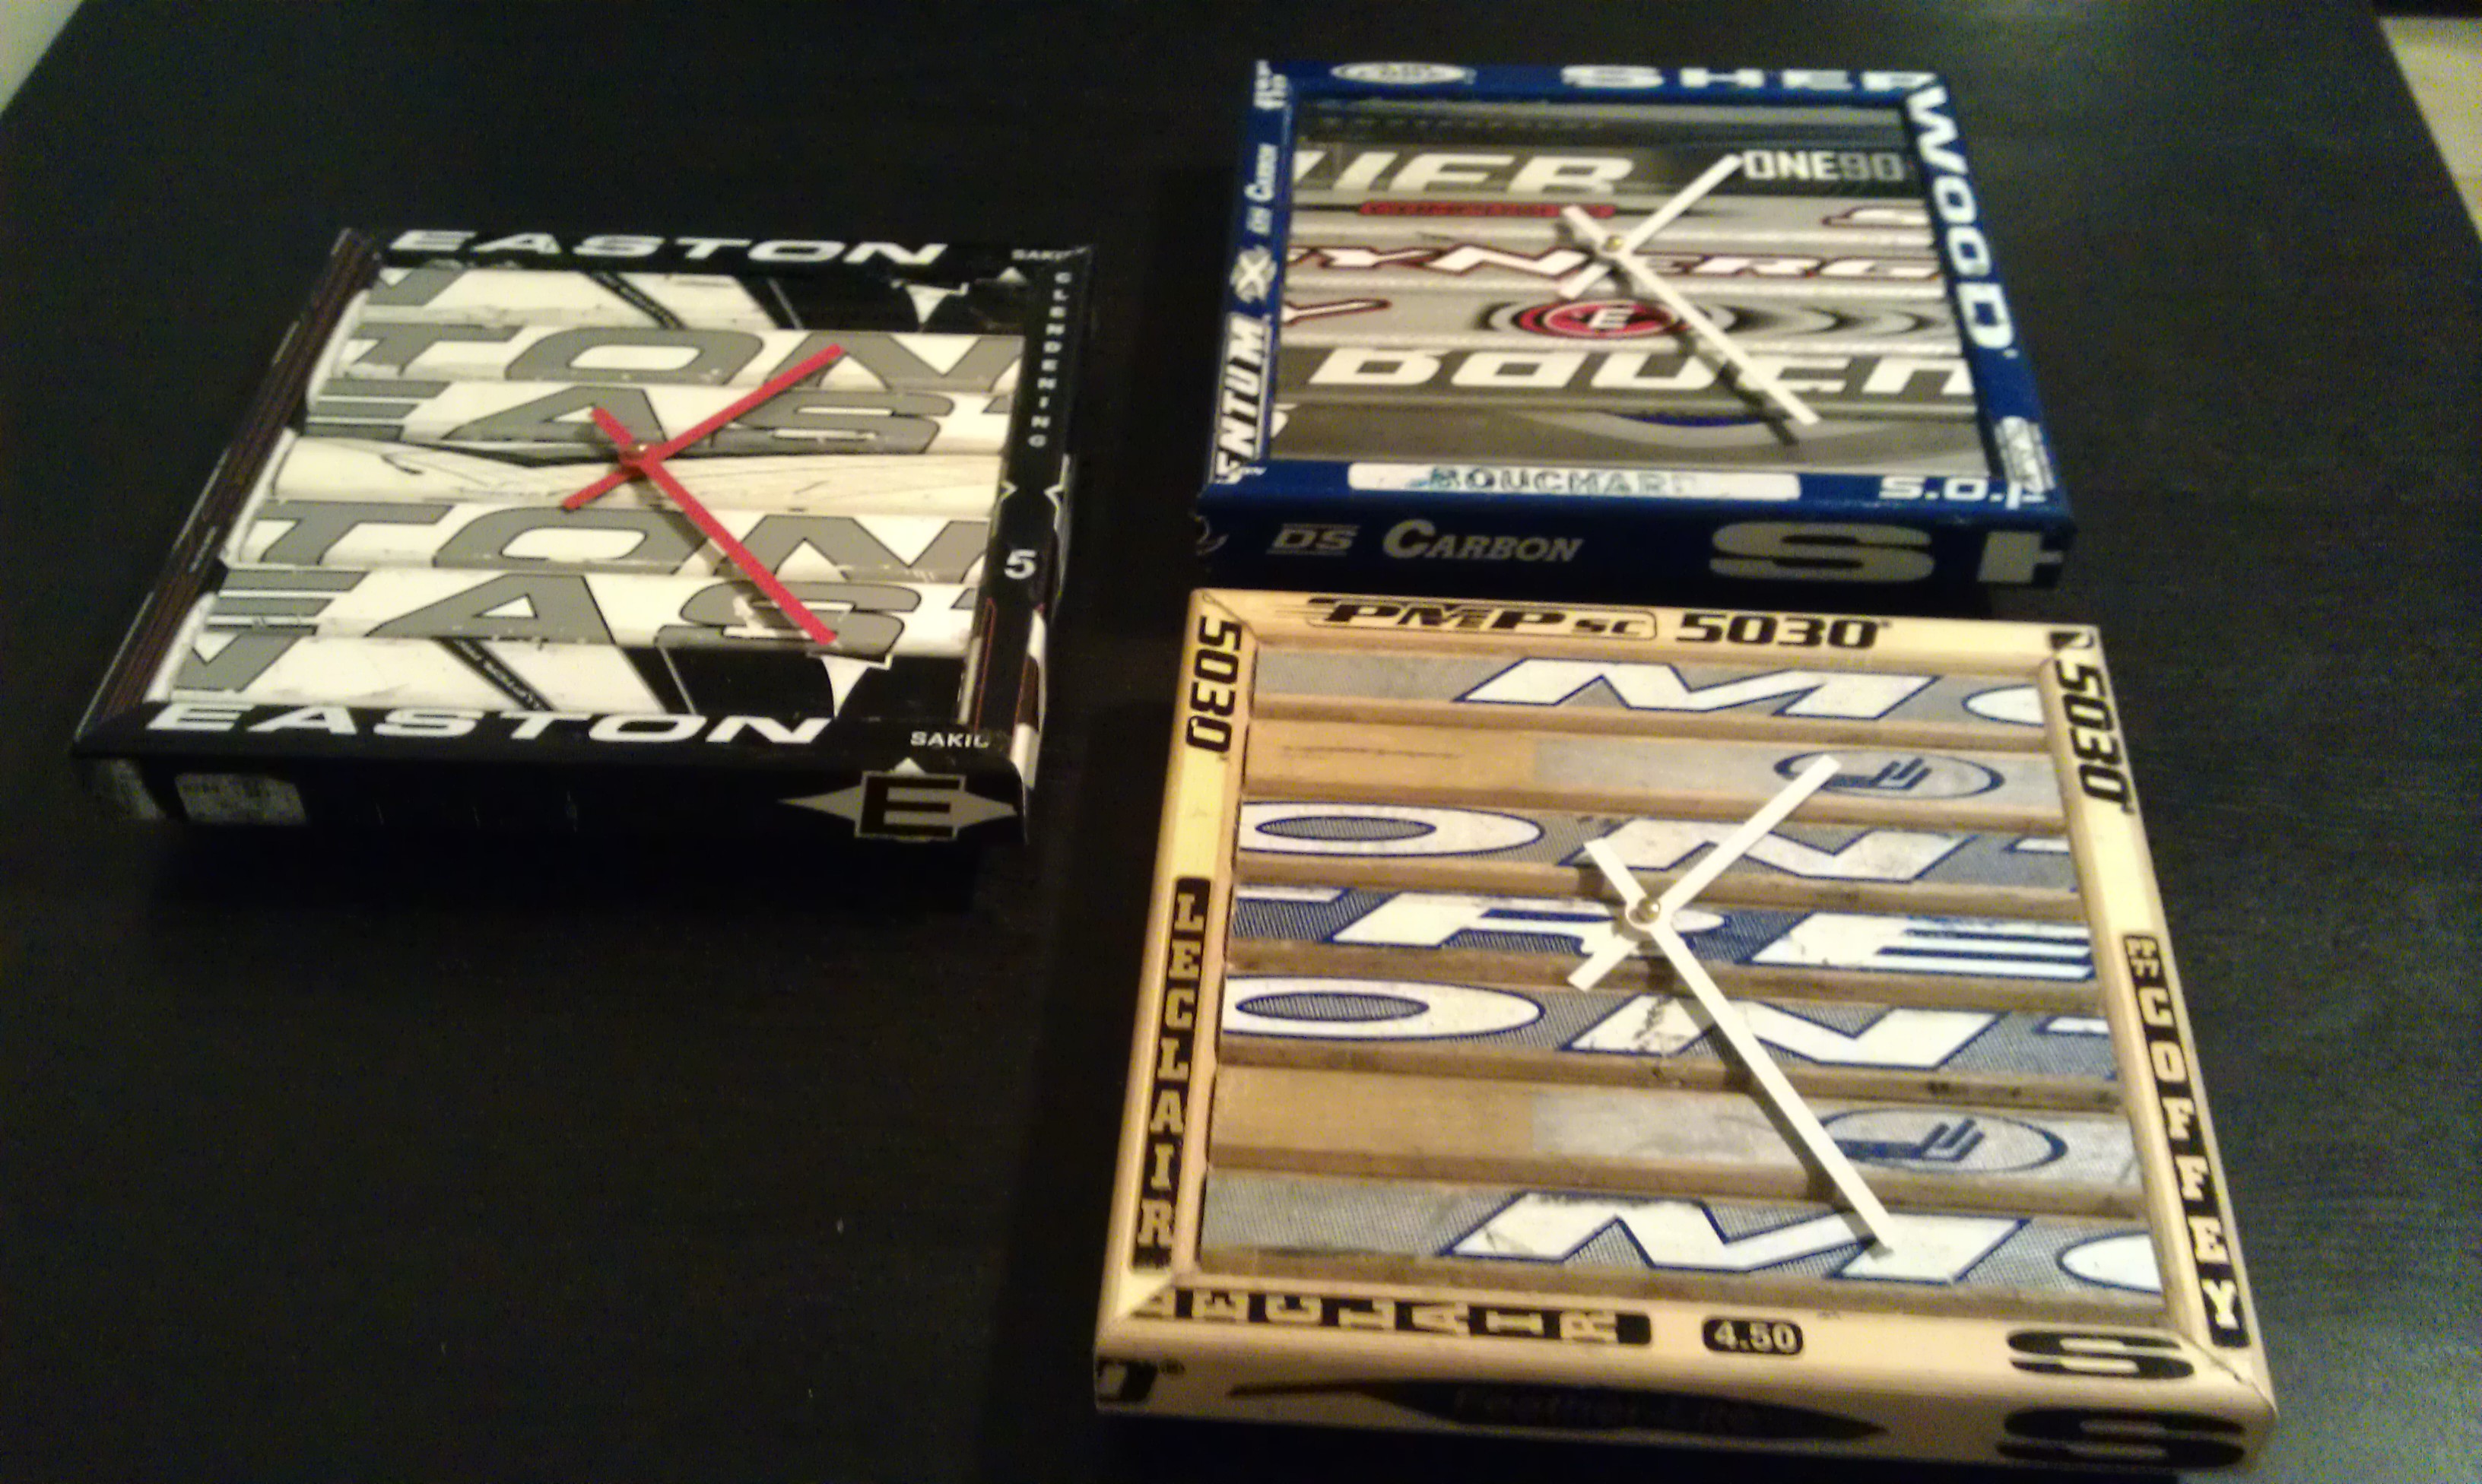
Gallery (20 photos)
Related Projects
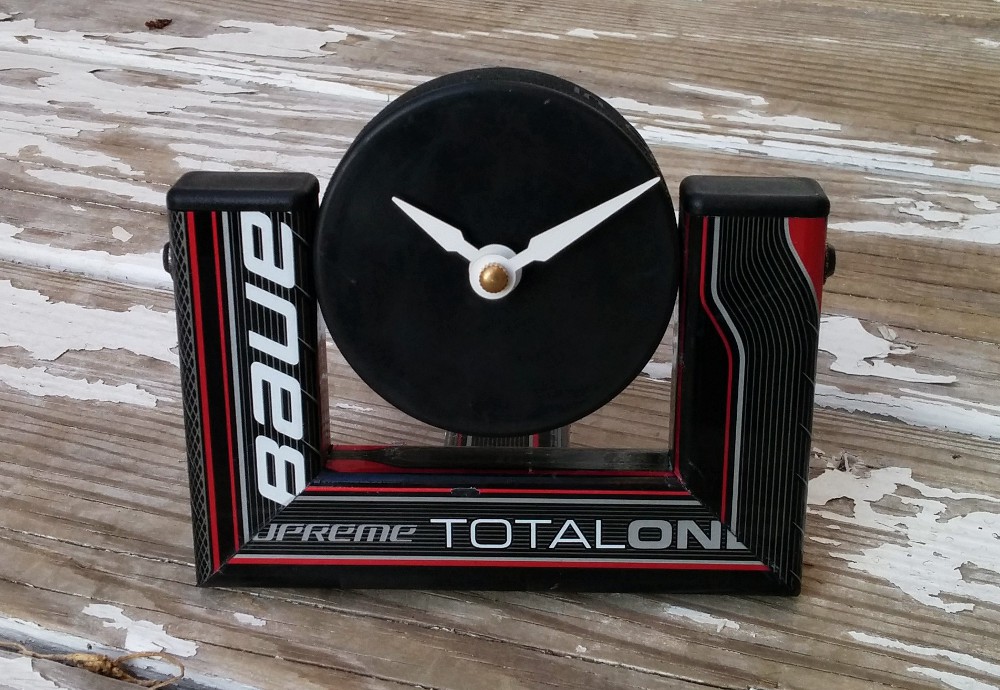
Hockey Stick Desk Clock
A compact desk clock using a single hockey stick and a hockey puck with clock movement. Great beginner project for clock-making.
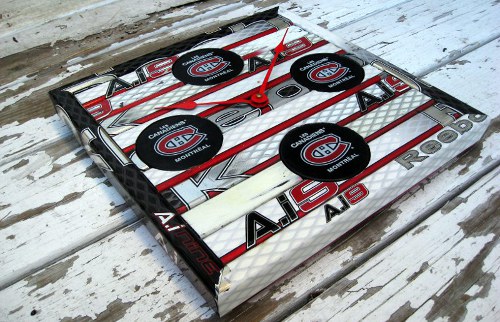
Hockey Puck & Stick Clock
A wall clock combining hockey sticks and pucks into a striking display piece. Available in team-themed variations.
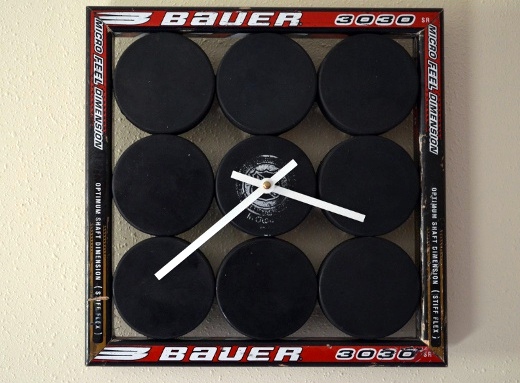
Hockey Puck Wall Clock
A wall-mounted clock made from hockey pucks with stick frame. Features a three-puck design with routed center for the clock movement.