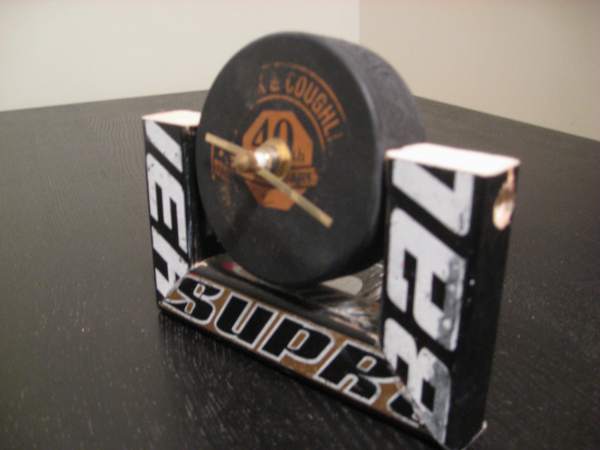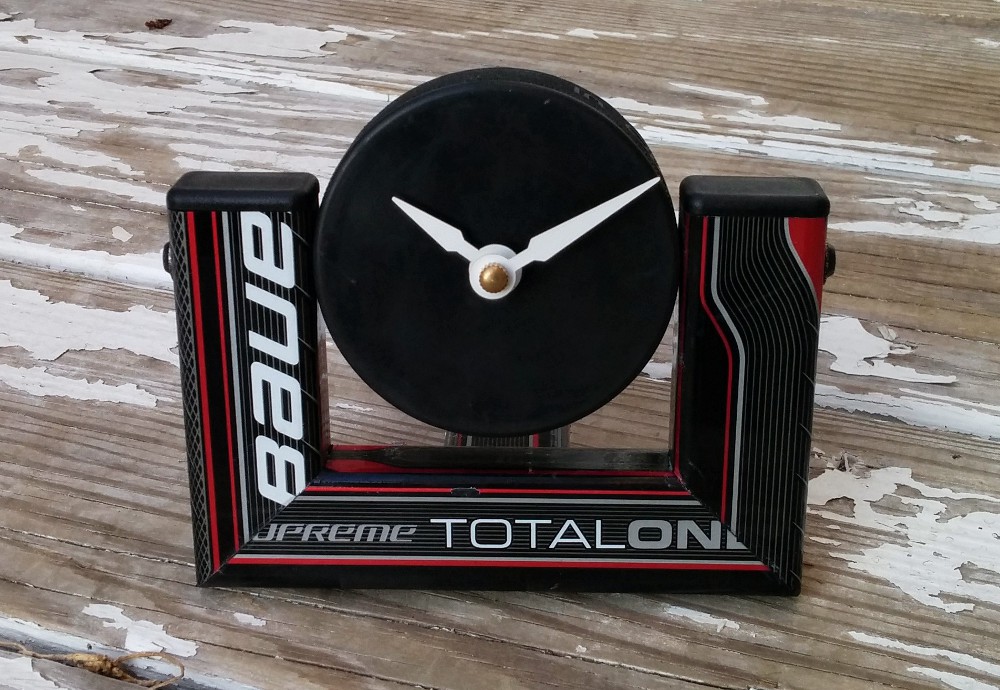
This is a great addition to your desk that doesn’t require a lot of sticks nor is particularly difficult to make (with one possible exception!). Made in an afternoon with the right tools, it tilts to improve readability and it easily transportable.
Design Approach
Not much to discuss with this design, it’s very straightforward:
- Clock Frame
- Puck
- Assembly/Consideration Points
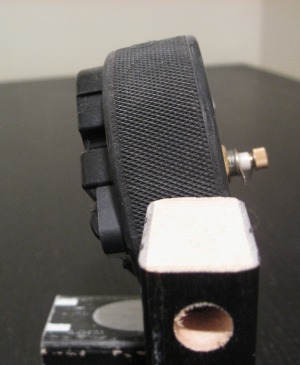
The clock frame for this design is easy to build. You really just need a clamp or two and some patience. The challenge is the puck. Routing this isn’t easy with a hand router, but it makes a huge difference on how the clock looks and how well it’ll run. See Building for more on clock movement mounting in pucks and routing. I do deviate in my suggestions from what I’ve pictured here based on what I’ve learned, so don’t worry if you don’t know what the giant holes are on the side of the images below!
Tools
- Miter Saw
- Router
- Drill
- 2 Bar clamps
- Wrench
Hardware
- 1 stick
- Liquid Nails
- 2 #6, 1.5″ wood screws, or
- 2 1.5″ finishing nails
- Clock movement, try MVT7130
Build
Clock Frame
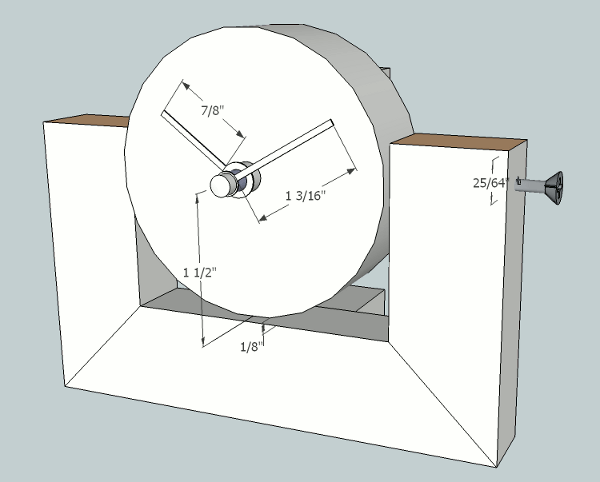
The clock frame dimensions are shown in the figure below. You want enough clearance between the posts to slide the puck in without a gap, but also not too tight so the puck is really difficult to turn or doesn’t fit at all! Try making the bottom piece of the frame a little wider, and then slowly shave it down to the needed length.
I used Liquid Nails to hold all the pieces together with a clamp. Since the pieces are at 45° angles, they’ll tend to slip off each other as you press on the clamp. Just be careful and you’ll get it.
It’s also important to note that the 1.5″ support piece in the back should not lie flush to the table or the entire clock will be slightly unstable as a small nudge forward will cause it to tip. By raising that smalle piece to about half the height of the bottom stick, 13/64″, it’ll have a slight lean backward and be more stable.
Puck
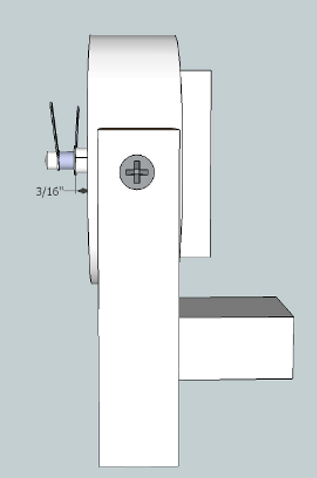
The clock movement, MVT7130, is shown below. These are basic dimensions and you should measure them yourself to make sure it fits, etc. Get a movement with the thickest dial you can if you choose not to rout. I routed out 9/32″ of the back to fit the puck. You can do a little more if you want and plug the difference with washers.
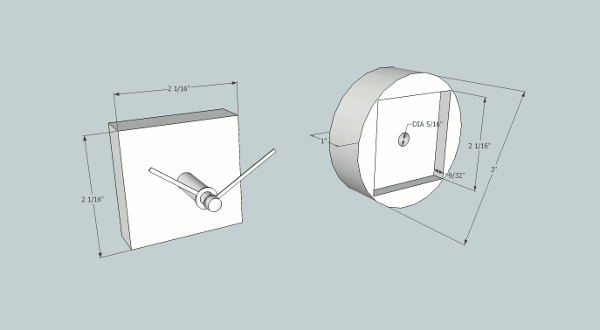
By routing out 9/32″, you get 3/16″ hand clearance from the face, which is plenty good.
Assembly/Consideration Points
Shown here are the screws (well only 1 technically) that you need to hold the puck in place. You can use a #6 1.5″ or a 1.5″ finishing nail in both posts. I did something else on my first desk clocks which can be seen in the images posted here. That method was much more complicated and I’m not convinced is any better. In the end, the idea is to provide a point on either side for the puck to rotate about, so you’d best try to make sure the screws or nails are as co-linear as possible along the diameter of the puck.
You want to raise the bottom of the puck slightly off the bottom piece to get the rotation you want. About 1/8″ should do it. This causes the puck attachment screws/nails to be 25/64″ or so from the top of the side pieces. Just make sure it’s the same on both!
You’ll need the wrench to tighten the nut on the clock shaft to secure it to the puck.
Model
For a full model of the puck desk clock, check Models.


